Is Vector Tracing Worth the Effort for Graphics?
Understanding Vector Tracing in Practice
Vector tracing is a process many graphic designers and digital artists encounter, particularly when working with raster images that need to be converted into scalable vector formats. At its core, it’s about taking a pixel-based image, like a JPG or PNG, and tracing its outlines to create a new image composed of mathematical paths and points. This might sound like magic, but it’s a practical necessity for many workflows, especially when you need to resize an image without losing quality, such as for logos or large-format prints.
Think of it like redrawing a photograph by hand, but with software doing the heavy lifting. The software analyzes the colors and shapes in the original image and generates a series of lines and curves that define those elements. The primary benefit is scalability; a vector graphic can be enlarged to billboard size or shrunk to a business card without any pixelation or blur. This is a massive advantage over raster images, which degrade significantly when scaled up.
However, the process isn’t always straightforward. The quality of the final vector output heavily depends on the complexity of the original image and the sophistication of the tracing tool. Simple, high-contrast images with clean lines, like a company logo or a silhouette, usually yield excellent results. But intricate photographs or images with subtle gradients and textures can be challenging, often requiring significant manual cleanup after the automatic trace is complete. It’s rare for an automated vector trace to be perfect straight out of the software, especially for anything beyond basic shapes.
When Does Automatic Vector Tracing Fall Short?
While automated vector tracing tools are readily available in popular software like Adobe Illustrator, they have distinct limitations that often lead to rejection in professional pipelines. The most common issue arises with images that lack clear definition or have very fine details. For instance, trying to trace a photograph of a landscape with numerous small trees and varied foliage will likely result in a messy, imprecise vector file. The software struggles to differentiate between individual elements, often creating overly simplified shapes or a chaotic web of paths.
A specific scenario where automatic tracing fails is when trying to convert detailed sketches or hand-drawn illustrations that have varying line weights and subtle shading. The tracing algorithm tends to either oversimplify these nuances, turning them into uniformly thick lines, or it creates an overwhelming number of tiny, jagged paths that are difficult to manage. This is why, even with advanced algorithms, manual refinement is almost always necessary. I’ve seen projects where an automated trace was submitted, and the client rejected it because the characteristic texture of the original artwork was completely lost, turning a finely shaded drawing into a cartoonish outline.
The trade-off here is speed versus accuracy. Automated tracing can be incredibly fast, taking seconds or minutes. However, if the output requires substantial manual correction—which can take hours—then the initial time savings are negated. It’s a classic case of “garbage in, garbage out.” The cleaner and simpler the source image, the better the automated trace will be. For professional use, especially for branding or print materials where precision is paramount, relying solely on automatic tracing is often a gamble that doesn’t pay off.
Manual Vectorization: The Detailed Approach
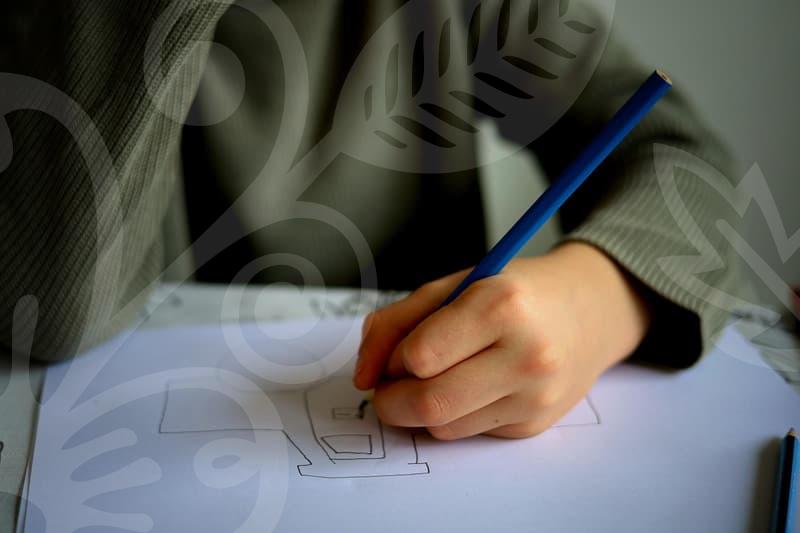
When automated tools fall short, manual vectorization becomes the necessary, albeit more time-consuming, alternative. This method involves using vector editing software, such as Adobe Illustrator, to meticulously redraw the original image point by point, path by path. It’s a methodical process that gives the artist complete control over the final output. This is how truly high-quality vector graphics are born, especially for complex designs that need to maintain their integrity at any size.
The process typically starts by placing the raster image onto a new layer in the vector software and locking it. Then, using the pen tool, the artist begins tracing the main shapes and lines of the original. For logos, this might involve tracing the outer contours of letters and symbols. For more complex illustrations, it means carefully drawing each element, ensuring that curves are smooth and lines are clean. Attention is paid to color fills and strokes, often using eyedropper tools to capture exact shades from the original, but then applying them as solid vector colors or gradients.
This manual approach allows for intelligent simplification and enhancement. Instead of letting an algorithm guess, the artist makes conscious decisions about where to anchor points, how to adjust bezier curves for optimal smoothness, and how to combine or break apart paths for cleaner geometry. For example, when vectorizing a complex character illustration, an artist might manually create smooth, flowing lines for the character’s hair rather than accepting the choppy results of an automatic trace. This meticulous work, which can take anywhere from 30 minutes for a simple logo to several hours for a detailed illustration, ensures that the final vector file is not only scalable but also aesthetically pleasing and professional.
Is Vector Tracing Right for Your Project?
Deciding whether to use vector tracing, and which method to employ, hinges on several factors. Primarily, consider the purpose of the final graphic. If you need a logo that will be used across everything from business cards to billboards, then a clean, scalable vector format is essential. In such cases, manual vectorization is often the most reliable route, even if it requires more upfront time. It guarantees precision and adherence to design standards.
However, for less critical applications, or when working with very simple, high-contrast imagery, automated tracing can be a useful shortcut. For example, if you’re quickly converting a simple icon for a website where extreme scalability isn’t a primary concern, an automated trace might suffice. Be prepared, though, to spend some time cleaning up stray points or adjusting shapes. A good rule of thumb is to assess the complexity of the source image. If it’s a solid shape with minimal detail, an automated tool might save you time. If it’s a photograph, a detailed drawing, or anything requiring subtle nuances, investing in manual vectorization or expecting significant post-trace cleanup is more realistic.
Ultimately, the decision involves a trade-off between time and quality. Automated tracing offers speed but often sacrifices precision, requiring manual correction. Manual vectorization demands more time but yields superior, professional results. For those who value their time highly and deal with a variety of projects, understanding these limitations and knowing when to invest more effort in manual tracing versus when to accept a faster, less perfect automated result is key. If you’re unsure about the final output, it’s always best to err on the side of caution and opt for the more robust manual method, or at least be prepared for the cleanup required from an automated trace. You can often find more specific tutorials on cleaning up traces in software like Adobe Illustrator by searching for ‘vector trace cleanup tutorial’.