When Do You Actually Need to Remove Image Backgrounds?
Removing the background from an image, often called ‘background removal’ or ‘background erasing,’ is a fundamental task in visual content creation. It’s not just about making a photo look cleaner; it’s a strategic step that can dramatically alter how your image communicates. For professionals, especially those working with marketing materials, product listings, or digital art, understanding when and how to effectively remove image backgrounds is crucial. It’s easy to get caught up in the sheer number of tools available, but practicality and effectiveness should always lead the way.
Why Bother Removing Image Backgrounds?
Think about your average online shop. If every product photo had a cluttered, distracting background, the user experience would be terrible. Customers would struggle to focus on the item itself. This is where background removal becomes indispensable. For instance, e-commerce platforms like Amazon or even smaller online boutiques often require product images to have a pure white or transparent background. This standardization makes listings look professional and consistent, allowing shoppers to easily compare products. Without this simple yet powerful editing technique, product visibility and sales potential can be significantly hampered. It’s not about fancy effects; it’s about clear communication and presenting your subject matter without visual noise.
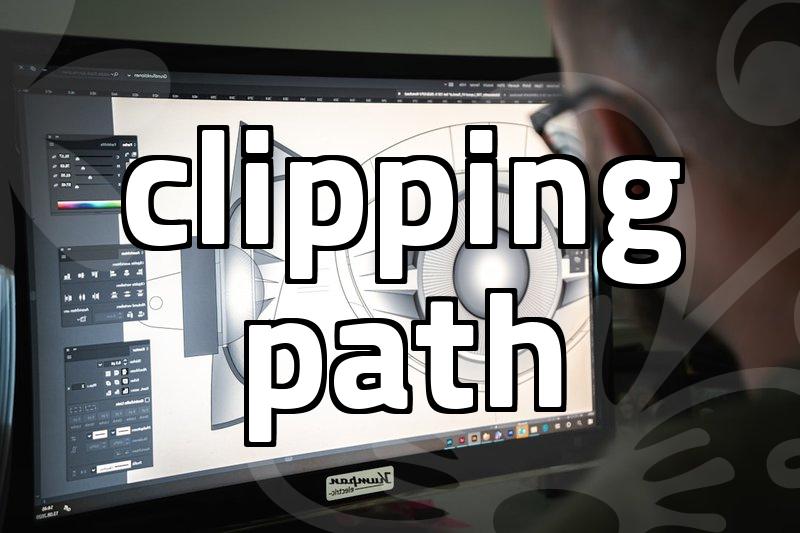
How to Effectively Remove Image Backgrounds: A Practical Breakdown
When the need arises to remove an image background, the first consideration is often the tool. While professional software like Adobe Photoshop offers immense control, it comes with a steep learning curve and a recurring subscription cost. For many everyday tasks, this is overkill. Simpler, more accessible tools are often sufficient. Let’s consider a common scenario: you need to extract a person from a photograph for a website banner or a social media graphic.
Step 1: Assess the Image Complexity. Is the subject clearly defined with sharp edges, or are there intricate details like wisps of hair or translucent elements? The former is easy; the latter requires more finesse.
Step 2: Choose the Right Tool. For straightforward images, online background removal tools or mobile apps that use AI are remarkably effective. Many of these can process an image in seconds, often achieving results good enough for web use. For example, tools like remove.bg or Canva’s background remover can often handle this task with a single click. If the subject has complex edges, you might need a tool that allows for manual refinement, like Photoshop’s Pen Tool or GIMP’s Paths tool, to meticulously trace the outline. This might take anywhere from 5 to 15 minutes depending on the detail.
Step 3: Refine and Inspect. AI tools aren’t perfect. Always zoom in and check the edges. Are there any stray pixels from the old background clinging to the subject? Is any part of the subject unintentionally cropped out? A quick manual touch-up with an eraser or a refine edge brush can make a significant difference. For instance, if you’re removing a person against a busy background, AI might mistakenly erase parts of their hair. A few careful strokes with a finer brush can correct this.
Step 4: Save with Transparency. Ensure you save the image in a format that supports transparency, such as PNG. JPEG files do not support transparency and will fill the removed background with white, defeating the purpose.
This step-by-step process, focusing on tool selection based on image complexity and the crucial refinement stage, ensures a professional outcome without unnecessary complexity.
When Simpler Solutions Fall Short: The Trade-offs
While AI-powered, one-click background removal tools are incredibly convenient, they aren’t always the magic bullet. The primary trade-off is control and precision. For instance, if you’re working on a fashion editorial where the model’s hair needs to blend seamlessly with a new, ethereal background, an automatic tool might smooth out delicate strands or create a harsh, unnatural edge. In such cases, the time saved by a quick AI removal is lost tenfold in the effort required to fix the imperfect result. This is where the investment in learning a more robust tool, even if it takes 30 minutes to an hour for a complex image, becomes worthwhile.
Another common mistake is assuming a tool that works for one image will work for all. Different edge complexities, color contrasts between subject and background, and lighting conditions all impact the effectiveness of automatic background removal. A tool that perfectly isolates a person against a plain blue shirt might struggle with a person wearing a patterned or similarly colored garment. Recognizing these limitations early prevents wasted time and frustration, guiding you towards the appropriate method, whether it’s manual editing or exploring advanced settings within a tool.
Alternatives to Full Background Removal
Sometimes, the goal isn’t to completely erase the background but to subtly alter it. This is where blur effects or color overlays come into play. Instead of a full background removal, applying a Gaussian blur in Photoshop or a similar application can soften distractions while keeping the context of the original scene. For example, if you want to highlight a subject in a street photograph but the background is a bit too busy, a selective blur is often more visually pleasing and less jarring than a stark, cut-out effect. This approach preserves a sense of depth and environment, which can be lost with complete removal. It’s a technique often used in portrait photography to draw the viewer’s eye directly to the subject without the need for complex masking.
Ultimately, the decision to remove a background entirely, blur it, or use another editing technique depends on the final intended use of the image and the message you want to convey. For simple product shots or graphic elements, quick background removal is often ideal. For more artistic or nuanced visual storytelling, alternative methods might be more suitable. Understanding these options allows for more informed decisions in your visual content creation workflow. If you’re unsure about the best approach, consider what impression you want the final image to leave on your audience.