Why Professional Designers Often Avoid Automated Background Removal Tools
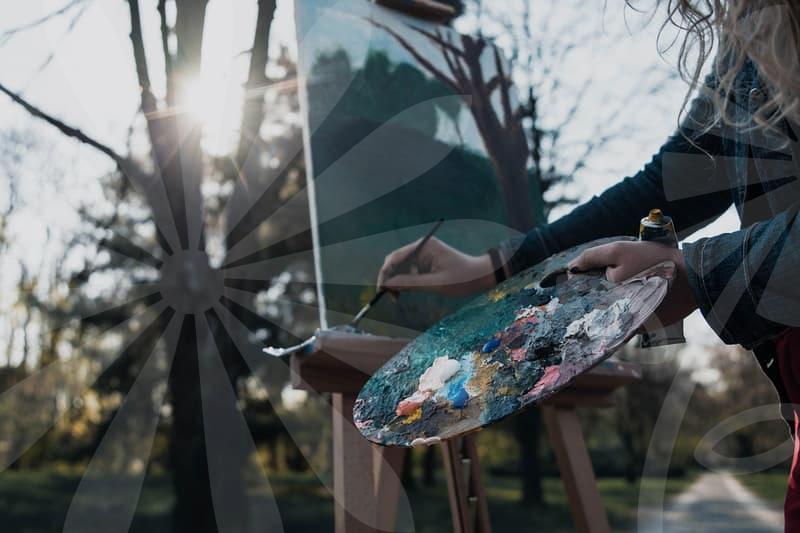
Professional background removal is rarely about the mere act of deleting pixels. In most practical workflows, the challenge lies in the transition between the subject and the negative space. Automated tools often leave behind jagged edges or artifacts that look passable on a small mobile screen but fail miserably when printed on a corporate presentation or used in high-resolution marketing materials. I have spent years refining images, and I have learned that the software is only as good as the understanding of light and depth the user brings to the process.
How the underlying algorithm processes your image data
Most current automated tools operate on a pixel-matching logic based on contrast detection. They look for the difference between the color values of the subject and the environment. This works perfectly when you have a subject standing against a plain, solid wall. However, the system encounters a major bottleneck when the subject’s hair, fur, or semi-transparent fabrics interact with the light. You might notice that the hair strands become pixelated or completely erased if the background color matches the subject’s silhouette. This is why manual adjustment, known as masking, remains the industry standard for high-fidelity assets.
Step by step refinement process for cleaner results
When I need to produce a clean result for a professional client, I follow a strict sequence that goes beyond simple automation. First, I perform an initial automated extraction to save time on the main silhouette. Second, I create a layer mask rather than deleting pixels, which preserves the original data for non-destructive editing. Third, I manually paint the edges using a soft brush with reduced opacity to blend the fringe pixels. Finally, I adjust the color balance along the cut line to ensure that the subject does not look like it was pasted onto a different surface. This four-step approach reduces the halo effect that is commonly associated with poorly executed digital cutouts.
Why manual masking remains the only reliable choice
Comparing automated services to manual intervention reveals a clear divide in quality. Automated services are efficient for generating quick thumbnails or internal documents where perfection is not a priority. However, for a major company logo or an official interview photo, these services often struggle with fine details like transparency. If you choose an automated tool for an image with complex lighting, you will likely spend more time cleaning up the failed output than you would have spent doing the job correctly the first time. The trade-off is simple: you either spend 30 seconds on a mediocre result or 10 minutes on a professional-grade asset that holds up under scrutiny.
Practical evaluation of your editing needs
Before you start, you must define the final output requirements. If you are preparing a photo for a website header that is 500 pixels wide, automated tools are perfectly fine. If you are printing a large-scale banner or working on a portrait where the edge of the hair is visible, you need to commit to a more precise workflow. Check the raw file resolution first; images below 1080 pixels in height rarely survive aggressive automated processing without losing significant clarity. Always keep a copy of your source file in a cloud folder or on an external drive before applying any irreversible changes, especially if you intend to refine the edges later.
The reality of choosing the right tool for the job
There is no single magic bullet for background removal that covers every edge case. Automated tools are convenient, but they often mask their limitations behind clever UI design that masks color fringing. If your goal is to save time, consider using automated tools as a starting point, but always be prepared to step in with manual tools when the software inevitably fails at the edge of the subject. The most effective way to improve your results is to search for advanced masking tutorials specific to your primary software rather than looking for a faster, more automated platform. If you are working on a project with strict deadlines, start with a manual rough cut to ensure the integrity of the subject, then use software tools to refine the background segments only where the contrast is absolute.