The Reality of Making Photos Look Like Paintings: Why Perfection Is Often a Trap
When Your Photo Looks More Like a Painting Than Reality
I remember scrolling through social media and seeing those ‘picture-perfect’ landscapes that look like they belong in a digital gallery. People often ask how to turn their own photos into something that looks like an illustration or a painting. In real situations, this tends to happen: you try to apply an AI filter or some heavy manipulation, and suddenly it looks plastic or overly artificial. I once spent about three hours trying to tweak a vacation shot of Mount Fuji to give it that ‘painterly’ glow I’d seen in a magazine. The expectation? A dreamy, artistic masterpiece. The reality? It looked like a low-quality smartphone graphic. After actually going through this, I realized that chasing that perfect, aesthetic look often strips the soul out of the actual photograph.
The Common Trap of Over-Editing
This is where many people get it wrong: they assume more processing equals better results. Many users look for free Photoshop alternatives or complex AI conversion tools, thinking they can simply click a button to transform a snapshot. But in my experience, the trade-off is almost always between detail and texture. If you force a photo to look like a painting, you lose the grit and depth that made it a photograph in the first place. Some people suggest using expensive software or hiring professionals, but honestly, even the pros struggle with this. If you are doing this for a hobby project, maybe spending 20 minutes is fine, but don’t expect it to look like professional art. Sometimes, doing nothing is the best choice—just keeping the original photo and accepting its minor imperfections.
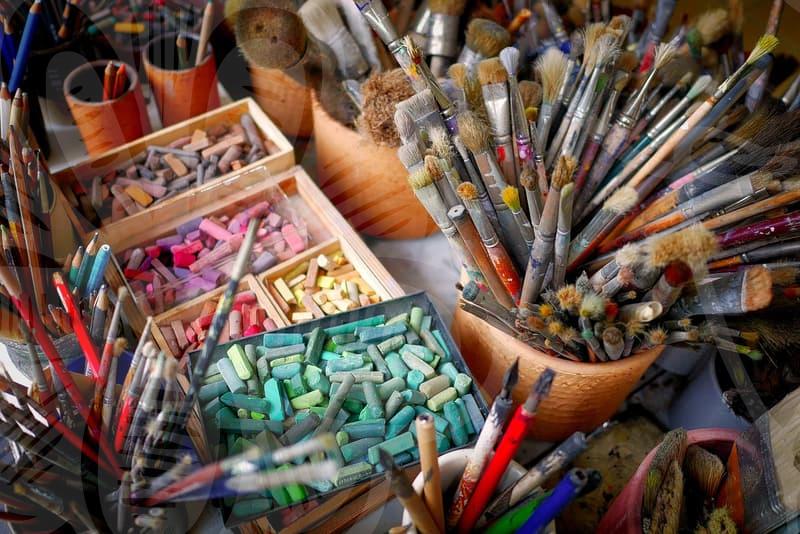
Does AI Conversion Actually Work?
There are countless tools now that promise ‘AI photo to painting’ conversion. I’ve tested a few that range from free web apps to subscription-based software costing around $10 to $30 per month. In most cases, these tools fail when the subject is complex. If you have a busy background or detailed lighting, the AI gets confused, and you end up with ‘ghosting’ effects or strange distortions, especially around faces. There is always a moment of hesitation when I think, ‘Is this supposed to look like this, or is it a failure?’ It’s rarely a perfect hit. I’ve had cases where an AI-generated look was supposed to save a poor photo, but it ended up looking like a disaster that I had to delete entirely.
Practical Decision Making: Is It Worth the Effort?
If you are just doing this for fun, go ahead and play with the settings. But if you’re trying to build a brand or a professional portfolio, be very cautious. The trade-off is clear: you gain a ‘style’ but lose ‘authenticity.’ When you edit too much, your audience can tell. They aren’t looking at your experience; they are looking at a filter. My advice? Try to achieve the ‘painterly’ look through lighting and composition during the shoot rather than through software afterward. It’s cheaper, faster, and usually more effective than spending an hour on a single photo.
Who Should (and Should Not) Use These Techniques
This advice is useful for casual creators or hobbyists who are curious about how their images can be manipulated to create a specific mood. However, if you are a professional photographer or someone working on commercial visual identity, you should probably avoid heavy AI conversion tools. They are too unpredictable for high-stakes work. Your next step shouldn’t be to buy a tool or hire a service; instead, take your camera, head to a location with soft, natural light, and try to capture the ‘picture-like’ quality in the frame itself. Note that this approach doesn’t apply to historical document restoration or high-end product photography where absolute accuracy is the only priority.