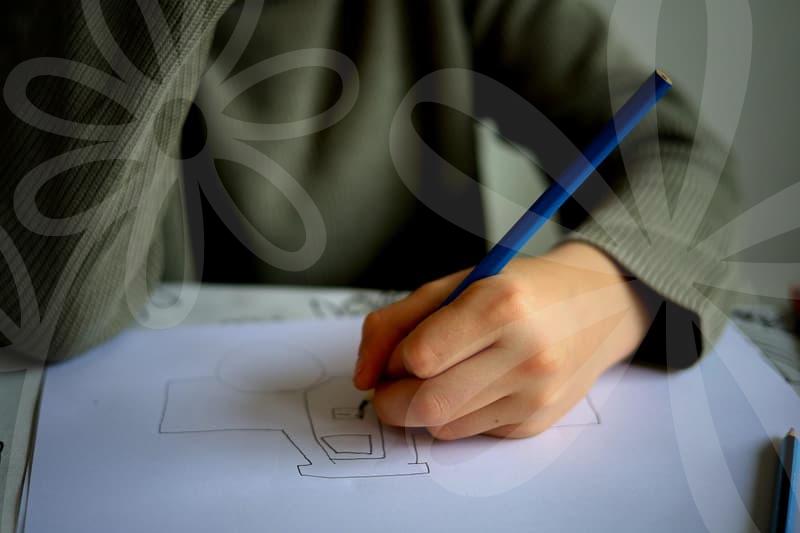
Shrinking Photo Files: More Than Just a Quick Click
When you’re trying to share photos online, especially a bunch of them, the file size can become a real headache. I remember trying to send a whole set of engagement photos to my cousin in Canada. Each one was over 10MB, and sending them through email was just impossible. We ended up having to use a cloud storage service, which worked, but it was an extra step neither of us really wanted to deal with.
The Quick Fix: What Most People Do
The most common approach, and honestly, the easiest for simple needs, is using built-in tools or free online photo editors. Most operating systems have a basic ‘resize’ or ‘export for web’ option. Online tools like Canva or Pixlr are also popular. They offer a straightforward way to reduce dimensions or compress the image. Typically, you’re looking at a few clicks: open the image, choose ‘resize’ or ‘save for web,’ select a smaller dimension (like 1200px on the longest side) or a quality setting (say, 70-80%), and save.
Reasoning: This works because it directly manipulates the pixel dimensions or the compression algorithm. Smaller dimensions mean fewer pixels to store, and lower quality settings mean the data representing each pixel is stored more efficiently, albeit with some loss of detail. It’s fast and usually free.
Conditions: This is great for social media, email attachments, or websites where high resolution isn’t critical. If you just need a smaller file for everyday sharing, this is often sufficient.
Hesitation Point: I always feel a bit uneasy just picking a random percentage for quality. You can’t really see the impact until you save and then zoom in, which means a few trial-and-error saves sometimes.
When the Quick Fix Isn’t Enough
There are times when simply shrinking dimensions or lowering quality just doesn’t cut it. I had a friend who’s a freelance graphic designer. He needed to send a portfolio of his work to a potential client, and the client specifically requested files under 1MB each, but also needed to retain reasonable detail for review. Using a standard resize option made the images look noticeably pixelated, especially text or fine lines. He ended up trying several free online tools, but none gave him the control he needed. He spent nearly two hours trying to find a balance before reluctantly considering a paid software.
Expectation vs. Reality: The expectation is that reducing file size will be a simple, clean process. The reality is that aggressive compression or resizing can introduce artifacts, blur details, or make the image look “blocky.” You might get a small file, but it won’t look professional.
Beyond Basic Resizing: Professional Tools and Techniques
For situations requiring a better balance of size and quality, professional software like Adobe Photoshop or Affinity Photo offer more advanced options. These tools allow for finer control over compression algorithms (like JPEG encoding), color profiles, and metadata stripping. You can often save a file at a specific file size target while previewing the quality in real-time. This might involve adjusting sharpening after resizing or choosing specific color spaces.
Reasoning: Professional software uses more sophisticated algorithms and offers granular control. You can fine-tune parameters that free tools either don’t expose or don’t handle as well. For instance, you can selectively reduce color depth or remove unnecessary EXIF data (like camera settings, GPS location) that contribute to file size but aren’t needed for viewing.
Conditions: This is essential for professional portfolios, print-ready files (though you’d usually start with high-res for print), or when delivering images for clients who have strict file size requirements but also expect a certain visual fidelity. The time investment is higher, but the results are more reliable.
Common Mistake: A very common mistake is to blindly trust the ‘auto’ settings in any photo editor. While convenient, they often over-compress or undersize the image for your specific needs, leading to a loss of quality that’s hard to recover.
Failure Case: I once tried to use a lesser-known free tool to reduce the size of some wedding photos for a client who wanted them for a slideshow. I thought I’d found a good balance, but when they played the slideshow on a large screen, several images were clearly pixelated and had weird color banding. The client was understandably unhappy, and I had to re-edit them using Photoshop, which took another hour and a half. That was a costly lesson in not compromising on the tools when quality is paramount.
The Trade-Off: Size vs. Quality vs. Time
Ultimately, reducing photo file size is a constant trade-off. You’re usually trading some level of image quality for a smaller file size, or you’re trading time and potentially money for a better balance. You could use a free tool and spend a lot of time tweaking and re-saving, or you could use a paid tool and get a good result much faster. Or, you could just accept a slightly lower quality from a quick resize. There’s no single ‘best’ answer; it depends on what you’re prioritizing.
Trade-off Example: Free online editors offer a cost-effective solution (often free!), but they can be time-consuming to get just right and may lack advanced features. Professional desktop software costs money (anywhere from $50 to $600+ depending on the software) and has a steeper learning curve, but it delivers superior control and efficiency for complex tasks. Doing nothing, i.e., not resizing, results in large files but preserves maximum quality and takes zero editing time.
When to Just Live with It
Honestly, sometimes the best decision is to do nothing. If you’re just sharing a few photos with friends on a messaging app and the file size isn’t an issue, why bother? Or, if you’re sending photos to a professional printer, they often have their own specifications, and you might need to send the original high-resolution files anyway. I’ve learned that obsessing over file size for every single image can be a waste of energy if the end use doesn’t critically depend on it.
Unclear Conclusion: The ideal compression level or resizing dimension often depends on the final output medium and viewing distance. For example, what looks fine on a small phone screen might look terrible on a large monitor. It’s hard to give a universal number.
Situational Application: If you’re uploading photos for a blog post, you probably want a balance – maybe around 1600-2000 pixels on the long edge with 70-80% quality. If it’s for Instagram, the platform will recompress it anyway, so a slightly smaller file might save you a bit of upload time. But for a website selling products where detail is key, you might aim for larger dimensions but with optimized JPEG settings to keep it under a specific KB threshold per image to ensure fast page loading.
Who This Advice is For (And Who Should Ignore It)
This is for anyone who regularly needs to share photos and finds themselves frustrated by large file sizes or poor quality after shrinking them. If you’re tired of email rejections or slow uploads, understanding these basics can save you time and hassle. It’s particularly useful for hobbyists, bloggers, and small business owners who manage their own visual content.
However, if you’re a professional photographer delivering high-end client work, this advice is only a starting point. You likely already have established workflows and professional tools. Also, if you never share photos or primarily use your phone’s built-in sharing functions without issue, you probably don’t need to worry about this.
Realistic Next Step: Before you start resizing your entire photo library, try this: pick 5-10 photos you plan to share soon. Experiment with two different methods – one quick online tool and one more advanced method if you have access to software. Compare the results in terms of visual quality and file size. See which method feels more comfortable and yields a result you’re happy with for that specific use case. This small experiment will give you a much clearer idea of what works best for you.