Quick Photo Enhancements for Better Visuals
Elevating your photos doesn’t always require complex software or hours of work. For professionals who rely on sharp, appealing visuals, understanding quick photo editing techniques is crucial. It’s about making your images work harder, faster.
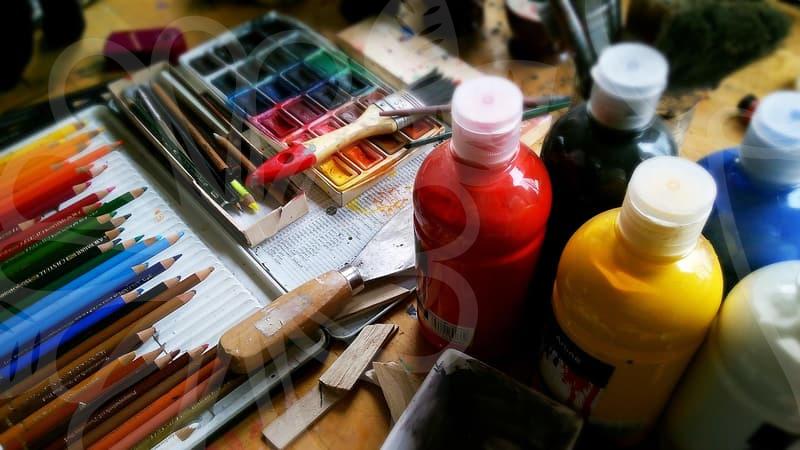
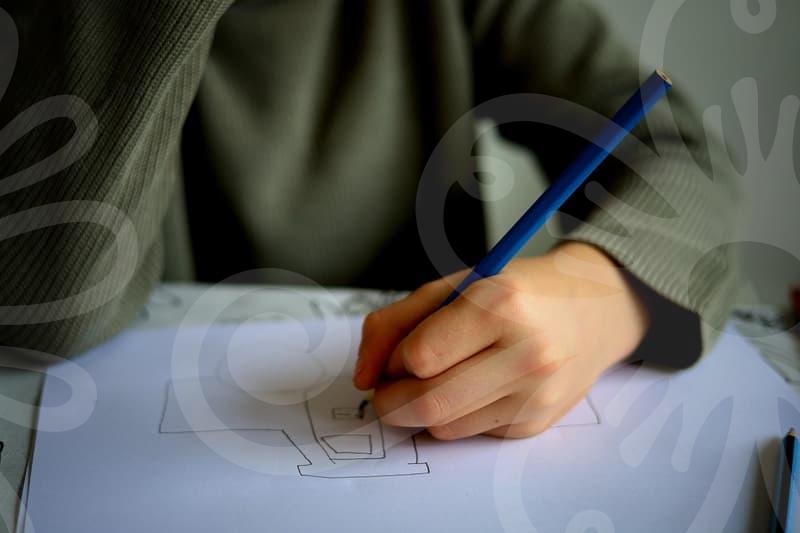
Many assume professional-looking results demand extensive Photoshop skills. While those skills are valuable, there’s a middle ground. Sometimes, a few strategic adjustments can make a significant difference without a steep learning curve. Think of it like ironing a shirt before an important meeting; it’s a small effort that significantly improves presentation.
How to Improve Photo Quality Without Advanced Software
Improving photo quality often boils down to addressing a few key areas: brightness, contrast, color balance, and sharpness. These are the fundamental building blocks of a visually appealing image. Even slightly off parameters can make a photo look amateurish or washed out. For instance, a photo that’s too dark might obscure important details, while one that’s over-sharpened can introduce unnatural halos.
Let’s consider a common scenario: you’ve taken a product photo for a small e-commerce site. The lighting in your office isn’t perfect, leaving the product looking dull. Instead of reshooting, you can often fix this in under five minutes. First, adjust the exposure to bring the overall brightness up. Then, increase the contrast slightly to give the image more punch and definition. Following that, a subtle tweak to the white balance can correct any color casts, ensuring the product’s true color is represented. Finally, a touch of sharpening can bring out fine details. Many free or low-cost applications, like Google Photos or even built-in phone editors, offer these adjustments.
This process, when done well, can take as little as 30 seconds per photo. It’s about understanding the impact of each slider. For example, boosting saturation too much can make colors look garish, so it’s often better to adjust it subtly, perhaps only for specific color ranges if your tool allows. The goal is enhancement, not artificiality. This careful balancing act is what separates basic edits from effective improvements.
When Does Basic Editing Fall Short?
While basic adjustments are powerful, they have limitations. For instance, if the original photo has significant noise due to low light, or if major elements need to be removed or added, relying solely on simple brightness and contrast sliders won’t suffice. Trying to over-correct severe issues can lead to a degraded image – think pixelation or an unnatural, plasticky look.
Consider a scenario where you need to composite two images together, such as placing a person into a different background. Simple editors often lack the tools for precise masking and blending, which are essential for a seamless result. If you’re trying to fix a photo where a person’s face is heavily blurred or has a distracting object directly in front of it, you’ll likely need more advanced tools. Software like Adobe Photoshop or GIMP offers layers, masks, and sophisticated retouching brushes that are indispensable for these complex tasks.
Another common mistake is expecting a one-click fix to solve all problems. While some apps offer “auto-enhance” features, they often don’t understand the specific context or intent of your image. A generic enhancement might boost contrast so much that it clips highlights, losing detail in the brightest areas. This is a trade-off: convenience versus control. For critical applications, like professional headshots or marketing materials, dedicating a bit more time with more capable software often yields superior and more predictable results.
Choosing the Right Tool for the Job
Deciding which tool to use depends entirely on your objective and the time you have. For quick social media posts or internal documents where perfection isn’t paramount, mobile apps or simple desktop software are often sufficient. These tools are designed for speed and ease of use, making photo editing accessible even to those with minimal technical background.
However, if your visuals are central to your brand’s identity or a specific project, investing in more robust software might be worthwhile. For example, if you’re a graphic designer regularly creating banners or website graphics, tools like Adobe Photoshop or Affinity Photo provide the depth needed for intricate edits. Even free, open-source options like GIMP can handle many advanced tasks, though they may have a steeper learning curve. The key is to match the tool’s capabilities to the complexity of the task and the required quality standard.
Consider your workflow. If you’re editing dozens of photos for a product catalog, batch processing features become important. Some software allows you to apply a set of adjustments to multiple images at once, saving considerable time. For instance, Lightroom is excellent for this, enabling you to edit one photo and then copy those settings to hundreds of others. This efficiency is critical when time is a constraint, which it often is for busy professionals.
Ultimately, the best approach is often a hybrid one. Use quick editing tools for routine tasks and everyday improvements, but don’t hesitate to bring out the heavier artillery when a project demands it. It’s about pragmatic application of technology to achieve the desired outcome efficiently. You might check online tutorials for specific techniques on platforms like YouTube to learn how to apply these adjustments effectively in under a minute for common issues.