Quick Photo Editing: Adjusting Size and Quality
Achieving the right look for your photos often comes down to effective photo editing. This isn’t just about making things look pretty; it’s about conveying the intended message clearly and professionally. For many of us, especially those who handle content creation regularly, optimizing images is a daily task, whether for social media, presentations, or websites. Understanding the core principles of photo editing can save significant time and prevent common pitfalls.
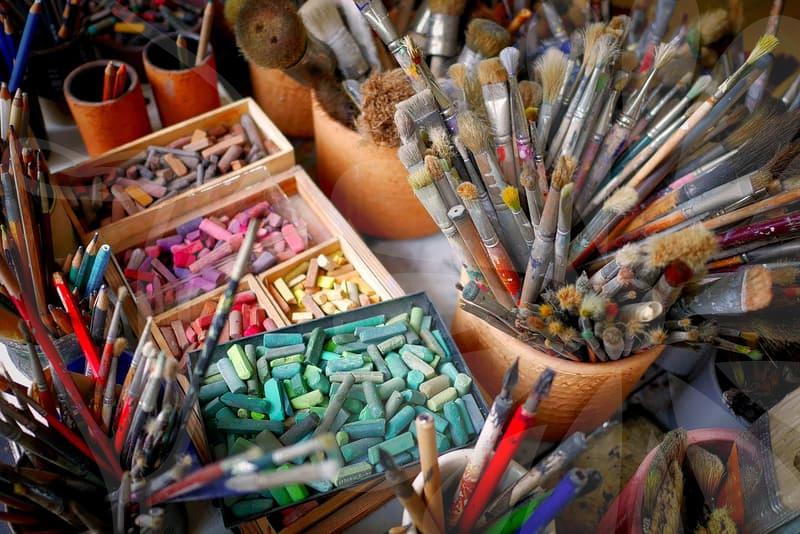
At its heart, photo editing is about refining an image to meet specific needs. This can range from simple adjustments like cropping and resizing to more complex tasks like color correction and retouching. When we talk about photo editing, especially for practical purposes, the goal is usually to enhance clarity, maintain quality, and ensure the image serves its intended function without drawing undue attention to the editing process itself. Think of it like ironing a shirt; the goal is a crisp, clean look, not to showcase the ironing board.
When Does Photo Editing Become Necessary?
Many situations call for photo editing. A common scenario is preparing images for online platforms. Social media often has specific aspect ratio requirements. For instance, an Instagram post might need a square format, while a story demands a vertical one. Failing to adjust can result in key parts of your image being awkwardly cropped. Similarly, website banners or product listings require images of a certain size and resolution to load quickly and display correctly. Overly large files can slow down a website, frustrating visitors. Conversely, images that are too small or have low resolution will appear pixelated and unprofessional when scaled up.
Another frequent need is to correct imperfections. This could be anything from removing a distracting background element in a product shot to adjusting the lighting in a portrait. Sometimes, the camera captures more than we’d like, or the lighting conditions aren’t ideal. Photo editing allows us to step in and make those necessary corrections. For example, if you’re preparing a headshot for a professional profile, you might want to subtly smooth out skin texture or remove a stray hair. The key is subtlety; the aim is to look polished, not artificial. Overdoing it can lead to an unnatural appearance, which is often a rejection reason for professional use.
Step-by-Step: Basic Photo Resizing and Quality Adjustment
Let’s break down a common workflow for basic photo editing, focusing on resizing and quality adjustment. This is a fundamental skill that can be applied using various software, from simple built-in tools to more advanced programs. The general process remains consistent.
Step 1: Assess the Target. Before you start, know where the image will be used. What are the required dimensions (pixels or inches) and the desired file size or quality level? For example, a web banner might need to be 1920 pixels wide, while a thumbnail might be 150 pixels wide. A print photo will have different resolution needs (DPI) than a digital display image.
Step 2: Open the Image. Use your preferred photo editing software. For quick, basic edits, tools like Windows Photos, macOS Preview, or online editors can suffice. For more control, Adobe Photoshop or GIMP are popular choices. Let’s assume we’re using a tool with layer support for better non-destructive editing.
Step 3: Crop (If Necessary). If the aspect ratio needs changing, cropping is often the first step. Select the crop tool and choose your desired aspect ratio (e.g., 16:9, 1:1). Drag the selection box over the most important part of your image. Commit the crop.
Step 4: Resize. Now, go to the image resizing function. Input the desired pixel dimensions (width and height). Pay attention to the ‘resample’ option. If you’re making an image smaller, it generally reduces file size without major quality loss. If you’re making it larger, be aware that quality will likely decrease, and the image may appear blurry. Some software offers ‘super-resolution’ features that attempt to intelligently upscale images, but results vary.
Step 5: Adjust Quality/Compression. When saving for web use (like JPEG), you’ll often have a quality slider or a compression setting. A quality setting of 100% might result in a very large file. For web, a setting between 60-80% is often a good balance between file size and visual quality. Experiment to see what looks acceptable for your specific image and platform. Aim for a file size that meets the requirements, perhaps under 500KB for certain web uses.
Step 6: Save for Use. Save the edited image. It’s good practice to save it as a new file to preserve your original. Choose the appropriate file format (JPEG for photos, PNG for graphics with transparency).
This process, from opening to saving, can often be completed in under five minutes for a single image once you’re familiar with the steps. For batch processing multiple images with similar requirements, many programs offer actions or batch processing features that can automate this, further saving time.