Make Your Own Merch: Smart Goods Design Tips
The world of custom merchandise, or ‘goods’ as we often call them in Korea, can seem overwhelming at first. Whether it’s for a personal project, a small event, or even a fan club, designing your own goods offers a unique way to express yourself. However, not all design choices are created equal, and understanding the practicalities can save you a lot of headaches and wasted money.
When diving into merchandise design, the most crucial initial step is defining your purpose. Are you creating limited edition items for a special event, or a more widely distributed product line? This decision impacts everything from material choices to production quantities. For instance, a batch of 50 custom acrylic keychains for a small fan meet-up will have very different cost and design considerations than a run of 1,000 printed stickers for an online shop. Thinking about the ‘why’ before the ‘what’ is the first practical filter.
The Pitfalls of Overly Ambitious Designs
Many new designers fall into the trap of wanting to incorporate every trendy effect or complex illustration into their goods. While a multi-layered design with gradients, intricate linework, and holographic foil might look stunning on a screen, translating it to physical merchandise can be a different story. For example, trying to achieve fine detail on small items like enamel pins or even printed coasters can lead to muddy results. The ink might bleed, or the foil might not adhere precisely where intended. I’ve seen too many projects where the final product looked significantly less sharp than the digital mockup.
A common rejection reason from manufacturers, or simply a disappointing outcome, stems from trying to push printing or manufacturing capabilities too far for the chosen item and budget. Delicate gradients can become banding, and very thin lines might disappear entirely after printing. It’s often better to simplify. Think about what will hold up over time and remain visually appealing. A bold, clean design often has more longevity and is easier to produce accurately. For a batch of 100 custom postcards, a simple two-color design with clear typography is far more likely to be executed well than a photorealistic illustration.
From Concept to Production: A Practical Workflow
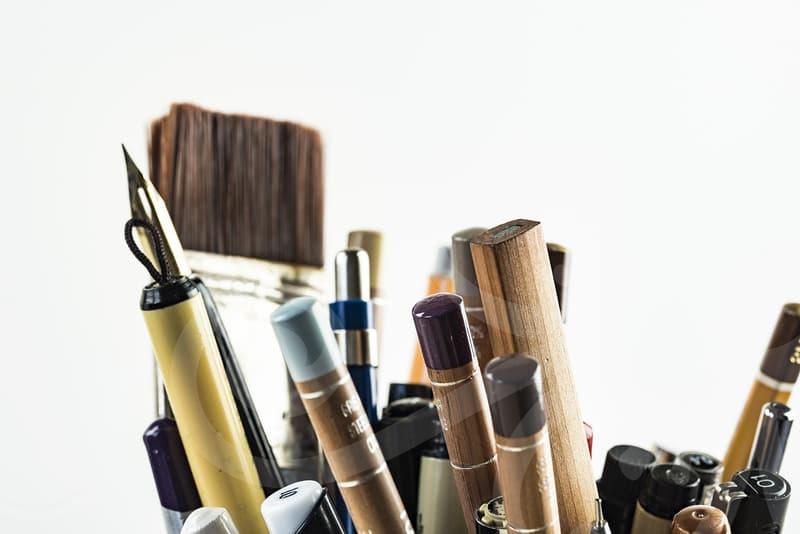
Let’s walk through a common scenario: designing custom stickers. Suppose you’re creating stickers for a local craft fair, aiming for about 200 pieces. The first step is usually the digital artwork. Using design software like Adobe Illustrator or even more accessible tools like Procreate, you’d create your design. For stickers, vector graphics are generally preferred because they scale without losing quality, ensuring crisp edges no matter the size. If you’re incorporating photographic elements, ensure they are high resolution, at least 300 DPI at the intended print size.
Next comes preparing the file for the manufacturer. This typically involves setting up die-cut lines if you want custom shapes. Many sticker suppliers will provide templates; ignoring these can lead to errors. You’ll need to specify the material—vinyl for durability, paper for cost-effectiveness—and finish, like matte or glossy. A common mistake is not accounting for bleed areas, which are extra margins around your design to prevent white edges if the cut is slightly off. For a simple circular sticker, say 5cm in diameter, you might add a 2mm bleed all around. The actual production might take anywhere from 5 to 14 business days, depending on the quantity and complexity.
Evaluating Your Options: Print vs. Digital Artistry
When considering materials for your merchandise, it’s essential to weigh the pros and cons. For example, acrylic keychains are popular. They offer vibrant color reproduction and a nice weight, making them feel premium. However, the acrylic itself can be prone to scratching, especially if the design is printed directly onto the surface. An alternative might be laser-engraved acrylic, which offers a different aesthetic—more subtle and durable—but limits you to single-color designs or etched patterns. The trade-off here is the visual impact versus durability and color options. A full-color printed acrylic charm might cost around $2-$5 per piece in a small batch, whereas a laser-engraved one might be similar or slightly less, depending on complexity.
Another common item is printed fabric, like tote bags or small pouches. These allow for larger, more intricate designs. However, the texture of the fabric can affect the final print quality. A smooth cotton canvas will yield sharper results than a rougher jute material. Comparing this to a printed ceramic mug, for instance, the mug offers a smooth, glossy surface that’s excellent for detailed graphics, but it’s also fragile and heavier. Each material choice involves a compromise. For event giveaways, something cost-effective and durable like a well-designed vinyl sticker or a simple printed pen might be more practical than a delicate ceramic item, even if the latter feels more luxurious.
When Simple is Simply Better
Ultimately, the most effective merchandise designs are often those that are thoughtfully simplified. Overly complicated designs, while appealing on a screen, frequently lead to production issues, increased costs, and less satisfactory final products. Focus on a strong concept, clear execution, and materials that suit both your budget and the intended use of the merchandise.
If you’re looking to produce custom items, check out manufacturers’ specifications for file preparation early in your design process. Understanding their requirements, like minimum line weights or color modes (CMYK vs. RGB), can save significant revision time. For instance, many printers require files in CMYK color mode, and failing to convert your RGB files can result in unexpected color shifts. Preparing a clear checklist of material, size, quantity, and finish requirements before contacting suppliers will streamline the entire process.
This approach is particularly useful for independent creators or small businesses where resources might be limited. Complex, high-end finishes might be feasible for large corporations, but for most, a solid, well-executed simpler design will yield better results and happier customers. The real benefit comes from clarity and intentionality, not just flashy effects. You might also consider looking into services that offer integrated design and production for simpler items like greeting cards or basic apparel, which can further simplify the workflow.