Why You Should Stop Searching for the Perfect Background Removal App
Is a Specialized Background Removal App Actually Necessary for Your Workflow
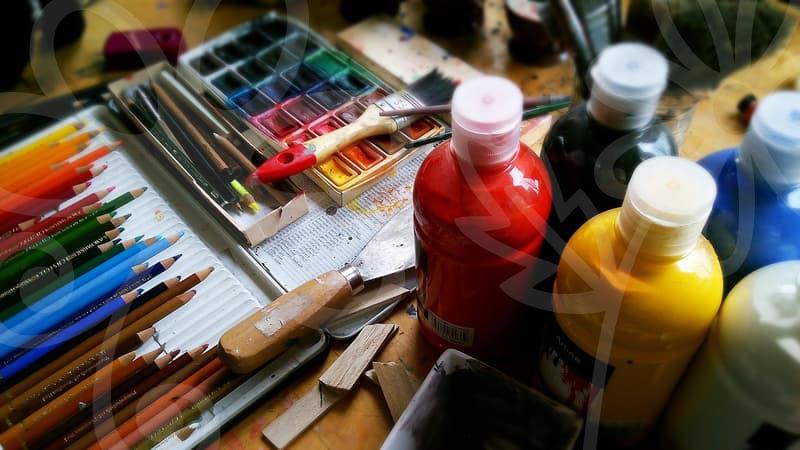
Many professionals rely on a dedicated background removal app to speed up their daily image editing tasks. In the industry, we call this process cutting out, or what people commonly refer to as getting a clean cutout. If you run a small online shop or manage social media pages, you have likely encountered situations where you need to isolate a product or a person from a messy background. These mobile tools have become popular because they promise to finish a task in under 10 seconds. However, I often find that people over-rely on these apps without considering the actual loss in file quality that occurs during the export process.
While convenience is a major selling point, these tools often apply aggressive compression to keep processing times low. If you are preparing images for a high-resolution display or a printed catalog, the artifacts left behind at the edges of the subject can be distracting. It is worth asking yourself if the trade-off of five minutes of manual work in professional software is worth the permanent loss of image crispness. Do not let the allure of one-tap solutions blind you to the technical requirements of your specific project.
Step by Step Analysis of the Cutout Process
To understand why some images fail to look professional, we must look at how these tools actually function. First, the application identifies the foreground subject using an edge detection algorithm. Second, it creates a mask based on color contrast between the subject and the background. Third, it calculates a feathering radius to soften the transition between the object and the transparent area. When the background is complex, such as a busy street or a patterned fabric, the software often struggles to distinguish between fine details like hair or lace.
If you find yourself repeatedly frustrated by jagged edges, here is how you should adjust your approach. Start by selecting your subject with a high-contrast backdrop if possible. If you must use a complex background, choose a tool that allows for manual refine-edge control rather than a fully automated one. Most people skip the refinement step because it feels tedious, but this is exactly where the quality difference between an amateur edit and a professional result lies. Spending an extra 60 seconds manually cleaning up the mask will save you ten minutes of trying to fix color fringing later in the design process.
Comparing Dedicated Apps Against Professional Alternatives
Let us compare a typical background removal app with a standard desktop editing workflow. Dedicated mobile apps prioritize speed and ease of use, often at the cost of layer control and non-destructive editing. In contrast, using a tool like Adobe Photoshop or even free web-based alternatives that allow for path-based selection offers far more precision. If you are dealing with a single product shot, a dedicated app is perfectly fine. However, if you are designing a complex composite image where lighting and perspective must match perfectly, an automated app will almost certainly fail to integrate your subject seamlessly.
One common mistake users make is assuming that all transparent exports are created equal. Many apps default to a lower quality PNG format to ensure the file size remains manageable for mobile sharing. If you are uploading these images to a website, verify if the app is stripping the color profile or reducing the color depth. For those who prioritize image fidelity, I suggest using tools that offer high-bit depth exports even if it means you have to deal with larger files. Always remember that you can downscale a high-quality image, but you can never recover the detail lost through poor automated processing.
When Should You Reconsider Your Current Toolset
If you notice your images appearing pixelated after a background removal, it is time to check your application settings. Look for an option to toggle between draft mode and high-resolution mode. Many users mistakenly leave these apps on default settings, which are optimized for social media previews rather than professional output. Another sign that your workflow is stagnant is if you spend more time fixing the errors created by the software than you would have spent doing the job manually from the start. This happens frequently with items that have reflective surfaces, like glassware or jewelry, which confuse the AI logic of most standard apps.
Eligibility for better results often comes down to the source material. If you provide a low-light, blurry photo, no amount of software optimization will yield a clean edge. Before you blame the tool, ensure your subject is well-lit and separated from the background by at least a few feet. This simple physical adjustment provides the algorithm with the data it needs to perform an accurate separation. If you are struggling with a specific image, try searching for tutorials on layer masking or path-based selection instead of jumping to another app that promises better automation.
Determining the Real Value for Your Visual Content
Ultimately, a background removal tool is a productivity aid, not a magic wand for low-quality photography. Those who benefit most from these tools are social media managers who need to produce high volumes of content quickly where slight inaccuracies are acceptable. However, if your work requires technical precision or large-scale printing, the limitations of these apps will become an obstacle. The best next step is to perform a test: process one image using your current tool and another using a manual selection technique, then compare them at 200 percent magnification on a desktop monitor.
If you find that the manual method takes significantly longer but produces a significantly better result, decide whether that time investment is justified by the final output. For most users, the honest trade-off is between the time spent editing and the professional aesthetic of the finished visual. If you are curious about improving your results, look for tutorials on frequency separation or advanced masking techniques rather than looking for a newer app. There is no shortcut that replaces a deep understanding of light and edge contrast in digital photography.