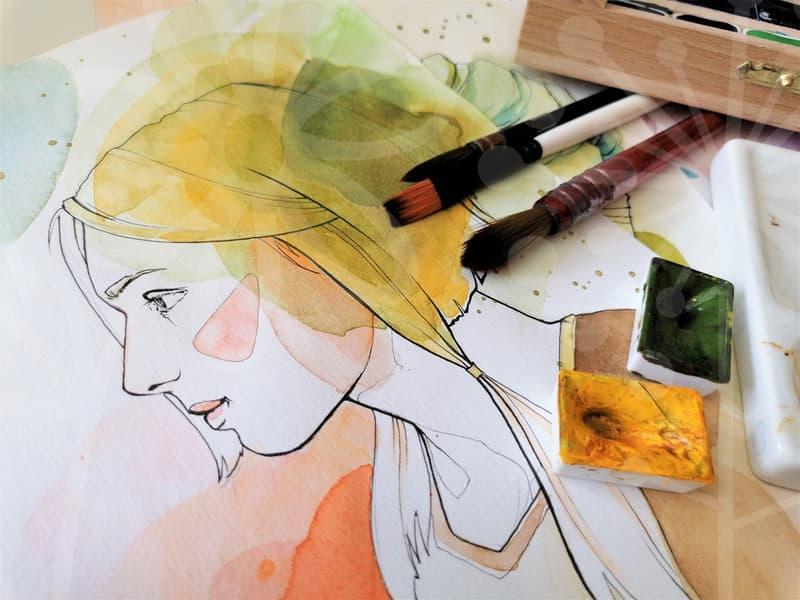
Vector Tracing: When to Automate vs. Manual Trace
Vector tracing is a fundamental process for many graphic designers and content creators, especially when dealing with raster images that need to be converted into scalable vector formats. You’ve probably encountered this situation: a client sends over a logo in a JPG or PNG, but they need it for a billboard or a shirt print, and suddenly, that pixelated image just won’t cut it. That’s where vector tracing, or oftentimes called ‘vectorizing’, comes into play. It’s the process of converting a bitmap image (made of pixels) into a vector image (made of mathematical paths).
When Does Automated Vector Tracing Make Sense?
Automated tracing, often performed by software like Adobe Illustrator’s ‘Image Trace’ feature or dedicated online converters, is undeniably convenient. If you have a clean, high-contrast logo with solid colors – think a simple black silhouette on a white background – an automated trace can often yield decent results in seconds. The software analyzes the edges and color blocks, then generates paths based on its algorithms. For quick mockups or when the final output quality isn’t paramount, this can save a significant amount of time. For example, if you need to resize a simple icon for a presentation slide, a quick automated trace might be all you need. However, it’s crucial to understand its limitations. Complex images with gradients, subtle shading, or fine details will likely result in a messy, oversimplified vector that requires extensive cleanup or is simply unusable.
The Trade-offs of Manual Vector Tracing
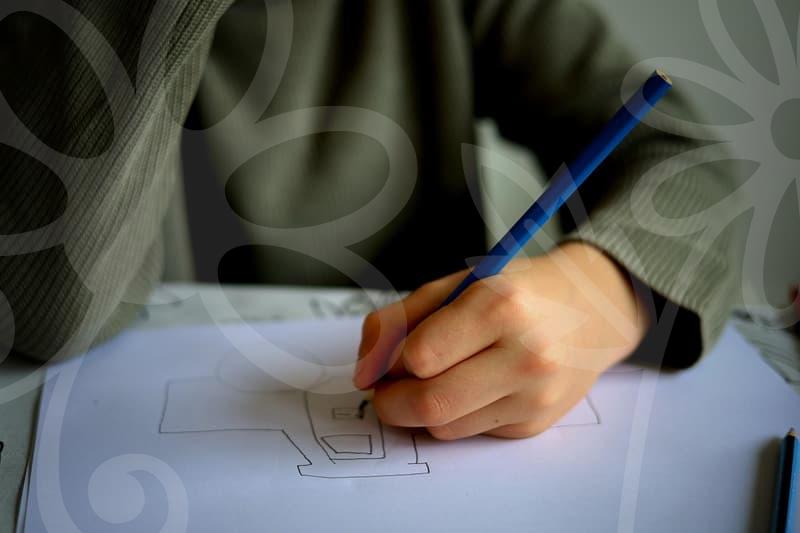
Manual vector tracing, on the other hand, involves meticulously redrawing the image using vector illustration software, typically Adobe Illustrator or Affinity Designer. This is the gold standard for achieving high-quality, precise vector graphics. You gain complete control over every curve, anchor point, and segment. This method is essential when working with intricate designs, photographs, or logos that have fine lines, complex gradients, or require specific artistic interpretations. For instance, tracing a detailed illustration for merchandise or a brand logo that needs to be perfectly sharp at any size demands manual attention. The downside, of course, is the time investment. A complex manual trace can take anywhere from a few hours to several days, depending on the detail. This is where the cost factor often comes in, as professional designers charge for this valuable time and skill.
Common Pitfalls and How to Avoid Them
One of the most common mistakes beginners make is expecting automated tracing to work miracles on any image. Trying to vectorize a photograph, for example, will almost always produce a garbled mess of shapes and colors that bears little resemblance to the original. The software simply isn’t designed to interpret photographic nuances in that way. Another pitfall is accepting the default settings of tracing software. Most tracing tools offer various presets (like ‘logo’, ‘silhouette’, ‘hand-drawn’) and advanced options to control how paths are generated, how many colors are used, and how corners are smoothed. Always experiment with these settings. If you’re using Illustrator’s Image Trace, adjusting the ‘Paths’, ‘Corners’, and ‘Colors’ sliders can drastically improve the output before you even expand the trace. When a client asks for a vector file of their existing JPG logo, it’s vital to assess the complexity of that original image. If it’s a simple shape, an automated trace might suffice with minor edits. If it’s more detailed, you need to communicate that a manual redraw will be necessary and will incur additional costs.
When is Vector Tracing Not the Right Answer?
While vector tracing is powerful, it’s not always the solution. If your primary goal is to maintain the photorealistic quality of an image, converting it to a vector format will inherently lose detail and introduce simplification. Vector graphics excel at sharp lines, flat colors, and scalable shapes – not subtle textures or photographic depth. For instance, if you’re working on a digital painting or a photo collage where the pixel-based detail is crucial, vector tracing is the wrong tool. In such cases, you’re better off working with the original raster format or exploring specialized digital art software. Remember, the goal is to use the right tool for the job. If you need a crisp, scalable logo, vector tracing is your friend. If you need a realistic depiction of a scene, stick with raster.
Next Steps for Better Vector Conversions
Before embarking on a vector trace, always ask yourself: what is the intended use of this final vector file? If it’s for small web icons or internal presentations, an automated trace followed by minimal cleanup might be sufficient. If it’s for large-format printing, merchandise, or critical brand assets, budget for and plan for a manual redraw. For those looking to improve their manual tracing skills, practicing with simple geometric shapes and gradually increasing complexity is a good start. Familiarize yourself with the pen tool, anchor points, and path manipulation in your preferred vector software. If you need to find a professional for a complex job, search for ‘vector redraw service’ or ‘logo vectorization expert’ to find specialists who can handle the task efficiently.