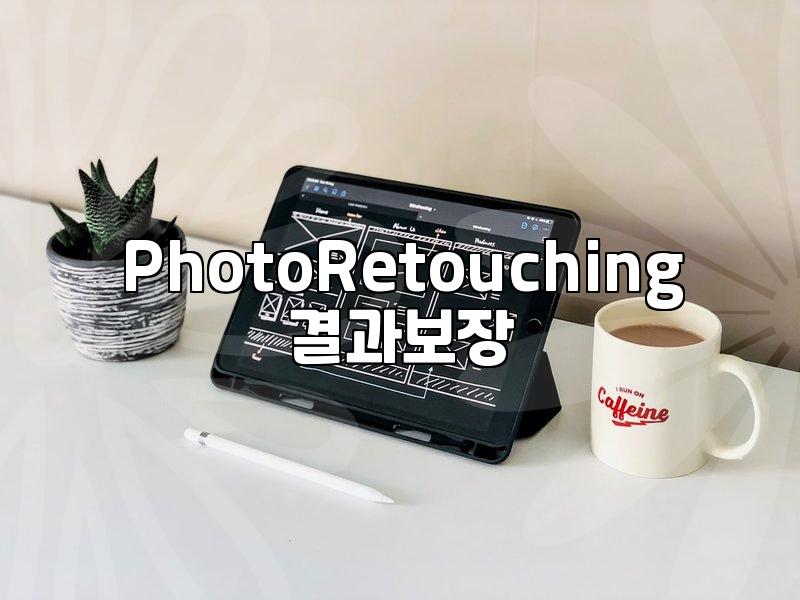
Practical Photo Editing for Busy Professionals
사진보정 can be a time sink, but getting it right is crucial for any professional creating visual content. It’s not about making every photo look like a fantasy, but about presenting the subject clearly and appealingly. Think of it as fine-tuning, not a complete overhaul. For example, a slight adjustment to contrast can make product photos pop, or subtle skin smoothing can make a portrait look polished without appearing artificial. Most of us, especially in a work context, don’t have hours to spend tweaking every pixel. We need efficient ways to achieve professional-looking results. This means focusing on the most impactful adjustments first.
When Does Basic Photo Editing Become Too Much?
A common pitfall is overdoing it. We’ve all seen those photos where the subject looks unnaturally smooth, or the colors are so saturated they hurt your eyes. This often happens when people try to fix every perceived flaw. For instance, I remember a client who insisted on removing every single tiny pore from a product shot. It took nearly two hours in Photoshop, and the end result looked plasticky and unappealing. The trade-off here is realism versus an artificial ideal. For professional use, especially in marketing or branding, maintaining a degree of authenticity is often more important than achieving an impossible standard of perfection. If a potential customer can’t recognize the product as it looks in real life, that’s a problem. Aim for enhancement, not transformation. A good rule of thumb is to step away from the screen for a few minutes and then look at the photo again with fresh eyes. If you can’t immediately tell what’s been changed, you’re likely on the right track.
Step-by-Step Guide to Efficient Photo Editing
Let’s break down a practical workflow for common photo editing tasks, focusing on speed and impact. We’ll use a hypothetical scenario of preparing product images for an online store. The goal is to have clean, bright, and accurate photos in about 5-10 minutes per image.
-
Initial Assessment & Cropping: Open the image in your preferred editor. My personal go-to for quick tasks is often Adobe Lightroom or even Luminar Neo for its AI-assisted features. First, check the composition. Is it strong? If not, crop it to improve focus, perhaps to a 1:1 square aspect ratio for social media or e-commerce platforms. This step alone can significantly improve the visual appeal.
-
White Balance and Exposure: This is critical. Use the eyedropper tool on a neutral grey or white area in the photo to correct the white balance. Then, adjust the exposure slider. If the image is too dark, increase it; if it’s too bright, decrease it. Aim for a balanced look where details in both shadows and highlights are visible. Don’t blow out the highlights or crush the blacks completely. This usually takes less than a minute.
-
Contrast and Clarity: Next, a small boost in contrast can add depth. Be judicious; too much contrast makes images look harsh. Add a touch of clarity to make the subject stand out. For product shots, this can make textures more apparent. Think of clarity as a micro-sharpening, but be careful, as it can also amplify noise. This phase typically takes another 1-2 minutes.
-
Color Correction (if needed): If colors are muted, slightly increase vibrance or saturation. Vibrance is usually safer as it affects less-saturated colors more, preventing unnatural skin tones. For specific product colors that need to be accurate, use color correction tools carefully. This might take another 1-2 minutes.
-
Spot Healing/Retouching: For minor blemishes like dust spots on a lens or small imperfections on a product, use the spot healing brush. This is for quick fixes, not extensive retouching. Aim to remove distracting elements in about 30 seconds to a minute per image. If there are more significant issues, it might be worth reconsidering the photo or allocating more time.
-
Sharpening (Output Sharpening): Finally, apply a subtle amount of sharpening. This is often best done as a final step, tailored for the intended output (e.g., web or print). Over-sharpening is a common mistake and can lead to artifacts. This final touch usually takes less than a minute.
This entire process, for a moderately well-shot image, should ideally take no more than 10 minutes. The key is efficiency and knowing which adjustments have the biggest impact. Practicing this workflow will build speed and precision.
The Trade-off: Speed vs. Perfection in Photo Editing
When we talk about “사진보정,” there’s an inherent trade-off that we, as busy professionals, must constantly manage: the balance between achieving a polished look and the time it takes to get there. Perfectionism is the enemy of efficiency. Spending an hour on a single photo for a social media post that might only be seen for a few seconds is rarely a good return on investment. I’ve seen colleagues get bogged down in minute details, missing deadlines because they were trying to make every single photo flawless. The reality is that often, ‘good enough’ is indeed good enough, especially when you have hundreds of images to process. For instance, using an AI-powered tool like Luminar Neo’s Enhance AI can often achieve 80% of the desired results in seconds, leaving you to fine-tune the remaining 20% manually if necessary. This drastically cuts down the time. However, the downside is that AI might not always interpret the image perfectly. It might over-smooth skin or misinterpret the intended mood. Therefore, the decision comes down to context. Is this a hero image for a major campaign, or a supplementary image for a blog post? Understanding this context helps prioritize your time and effort. For most day-to-day visual content, aiming for clarity, good exposure, and accurate colors in under 5 minutes per image is a more sustainable goal. The goal is to empower your visuals, not to spend your entire workday perfecting them.
When to Outsource Your Photo Editing
If the time investment for even efficient photo editing feels too high for your needs, or if a specific project demands a level of polish that you can’t achieve quickly, outsourcing is a viable option. For instance, a small e-commerce business with hundreds of products might find it more cost-effective to hire a freelance photo editor. Rates can vary widely, but you might find services offering basic retouching for as little as $2-$5 per image for bulk orders. When considering outsourcing, be clear about your requirements. Provide a style guide or examples of photos you like. This helps ensure the editor understands your aesthetic and avoids the need for excessive revisions. The main benefit is regaining your time. The trade-off is the cost and the need for clear communication to ensure the final results align with your expectations. It’s a strategic decision based on your budget, time constraints, and the quality standards required for your visual content.
Ultimately, effective “사진보정” is about making smart choices. It’s about understanding what truly enhances your visuals and what’s just busywork. For most professionals, mastering efficient techniques and knowing when to accept ‘good enough’ or outsource will yield the best results. If you’re looking to streamline your workflow, start by practicing the basic adjustments in a batch processing tool. You might be surprised how much time you can save. For more advanced techniques or specific project needs, researching freelance platforms can be a good next step.