When Vector Tracing Actually Works
Why vector tracing becomes a real work problem.
Vector tracing usually appears when a file has to grow beyond its original size. A logo that looked acceptable on a social post suddenly needs to sit on a two meter trade show panel, or a scanned badge sketch has to become clean artwork for print. That is the moment when people discover that enlarging pixels is not the same as rebuilding shape.
In day to day image work, the issue is rarely artistic theory. It is time, revision count, and how much imperfection the final use can tolerate. If the traced result will be cut in vinyl, engraved, embroidered, or inserted into a layout that demands crisp edges, rough auto tracing becomes obvious within seconds.
I have seen teams lose half a day because they treated tracing as a one click repair. A low contrast source, compression noise around the edge, and uneven lighting from a phone camera can turn a ten minute cleanup into a ninety minute redraw. Vector tracing saves time only when the source and the output goal match.
What makes a source image trace cleanly.
The best tracing input is not simply high resolution. It is an image with clear edge separation, limited texture noise, and shapes that can be described by intentional curves. A 1200 pixel black icon on a plain background often traces better than a 4000 pixel photograph with shadows and grain.
Think about how software sees the file. It does not know whether a dark patch is a shadow, a fold, or part of the design. If the boundary between subject and background is uncertain, the trace engine invents shapes, and then you waste time deleting them.
A practical test helps here. Zoom in to 300 percent and inspect three places: outer contour, internal holes such as counters in letters, and any thin connector lines. If those areas already look muddy in raster form, the vector result will not magically become clean.
There is also a category problem that people ignore. Simple logos, stamps, icons, and monochrome illustrations are tracing candidates. Faces, fabric folds, realistic lighting, and painterly gradients are usually redraw or live image territory. Asking vector tracing to preserve photographic nuance is like asking a paper cutter to behave like a brush.
How to trace without creating cleanup debt.
A reliable workflow starts before the trace button. First, crop tightly and remove background clutter so the software is not analyzing irrelevant space. Second, adjust levels or curves to increase separation, because a cleaner silhouette at this stage can reduce anchor noise by 30 percent or more in the final result.
Third, choose the trace mode that matches the job, not the image. Black and white mode is often the right choice for marks, seals, and line art, while limited color tracing fits flat packaging graphics. Full color tracing sounds attractive, but it tends to explode the object count and makes editing unpleasant.
Fourth, reduce the result immediately after expansion. Too many nodes are not a sign of precision. They are usually a sign that the software followed every defect in the raster source, including dust, JPEG artifacts, and uneven edges.
Fifth, clean by priority. Fix silhouette first, then obvious interior errors, then spacing and symmetry. Many people start polishing tiny corners while the overall proportion is still wrong, and that is backwards.
The important question in the middle of this process is simple. Are you preserving the original mark, or are you reconstructing the idea of the mark. Once you ask that, decisions become easier, because strict fidelity and usable clarity are not always the same goal.
Auto trace versus manual redraw is a cost decision.
Auto trace is faster when the artwork is geometric, high contrast, and close to final form. A badge icon, a warehouse sign, or a scanned one color symbol can often be brought into usable shape in ten to twenty minutes. In those cases, tracing is less about design and more about controlled cleanup.
Manual redraw wins when alignment, typography, or brand accuracy matter more than speed. Letterforms with subtle optical correction, mirrored shapes that must be truly symmetrical, and icons intended for repeated reuse often deserve reconstruction with pen tools and shape operations. The first pass may take longer, but later edits become cleaner.
There is also a hidden business trade off. Auto traced files often look finished at normal zoom but break under production stress. A print vendor notices uneven paths, a cutter misreads a tiny bump, or a design system owner asks why every corner radius is slightly different. Saving twenty minutes early can create three rounds of correction later.
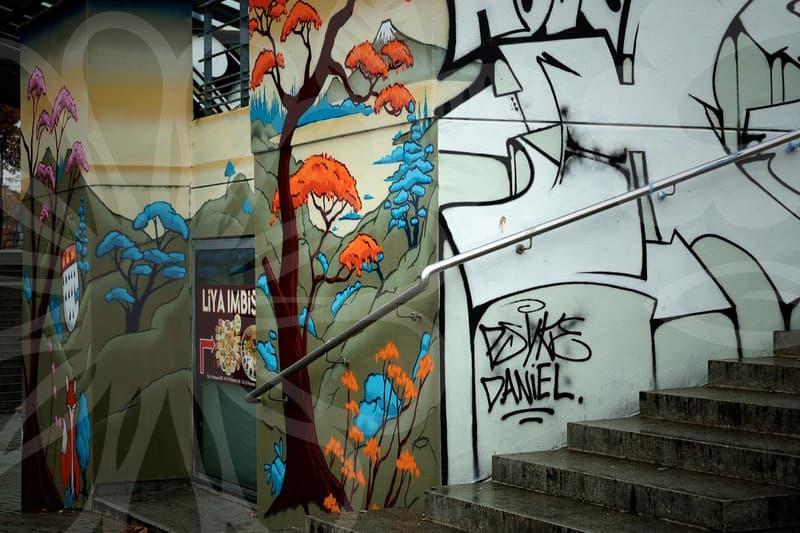
A named example makes this clear. Converting a restaurant logo from a photographed takeaway cup is usually a poor tracing job, because curvature distortion from the cup surface changes the original proportions. Rebuilding the logo from reference and type matching is slower upfront, but the result behaves properly across menu boards, uniforms, and app icons.
Where vector tracing fails quietly.
The most common failure is false confidence. On screen, especially at fit to window size, the result can look clean enough. Then the artwork goes onto packaging, signage, or laser engraving, and small defects become visible because vectors are merciless about shape continuity.
Another failure comes from color boundaries. If two adjacent tones are close in value, auto trace may merge them or create jagged islands between them. That matters for stickers, layered printing, and any workflow where each closed shape becomes a separate production decision.
Thin strokes are another danger zone. A line that looks present in the source may fragment into several short paths after tracing, especially if the raster edge is soft. When that happens, editing becomes fiddly, and stroke expansion later can produce uneven thickness.
There is a human factor as well. People often trace because the original file is missing, not because tracing is the best method. That pressure leads to accepting a weak result because it is already on the screen. Sometimes the more honest answer is that the asset should be redrawn, relicensed, or requested again from the source owner.
Who should use vector tracing and what to do next.
Vector tracing benefits people who handle repeat production tasks and can judge acceptable error quickly. In house marketers, packaging designers, sign shops, and editors cleaning old brand assets tend to gain the most, because they face imperfect source files under deadline. For them, tracing is not magic. It is a filter that decides whether a job stays fast or turns into reconstruction.
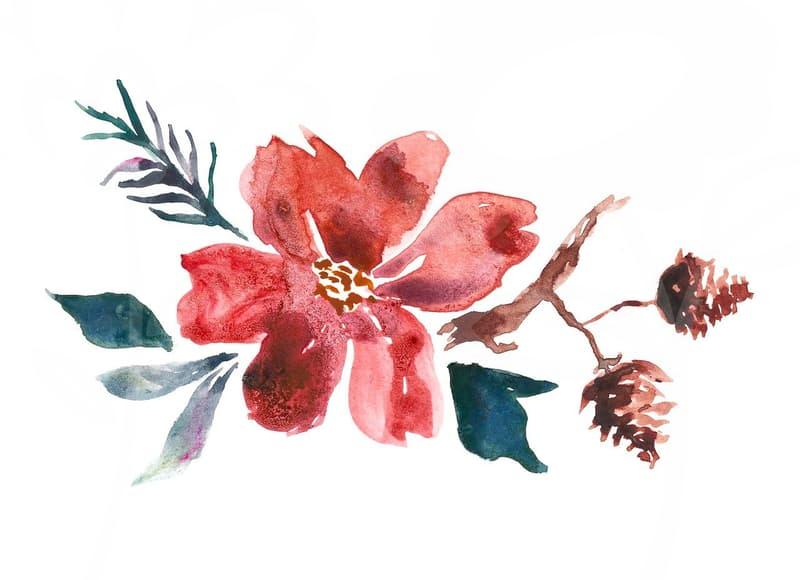
It is less suitable when the image depends on texture, subtle lighting, or expressive hand pressure. Illustrations with watercolor bleed, portrait details, or soft textile depth usually lose more than they gain when forced into vectors. In that situation, a high resolution raster workflow is often the more honest choice.
A practical next step is to test one file with a stopwatch. Spend ten minutes on source cleanup, ten on tracing, and ten on node reduction and correction. If the shape is still unstable after that thirty minute pass, treat the file as a redraw candidate rather than sinking another hour into cleanup.