Vector Tracing: A Practical Guide for Crisp Visuals
When working with digital visuals, you often encounter two fundamental types: raster and vector. Raster images, like photographs you take with your phone, are composed of a fixed grid of colored pixels. If you try to print such an image, say a typical photograph at 300 DPI, and then enlarge it significantly, it quickly becomes blurry and pixelated, revealing those tiny squares. Vector images, however, are built from mathematical equations that define points, lines, curves, and shapes. This means they can be scaled infinitely without any loss of quality or sharpness, always remaining crisp and clear.
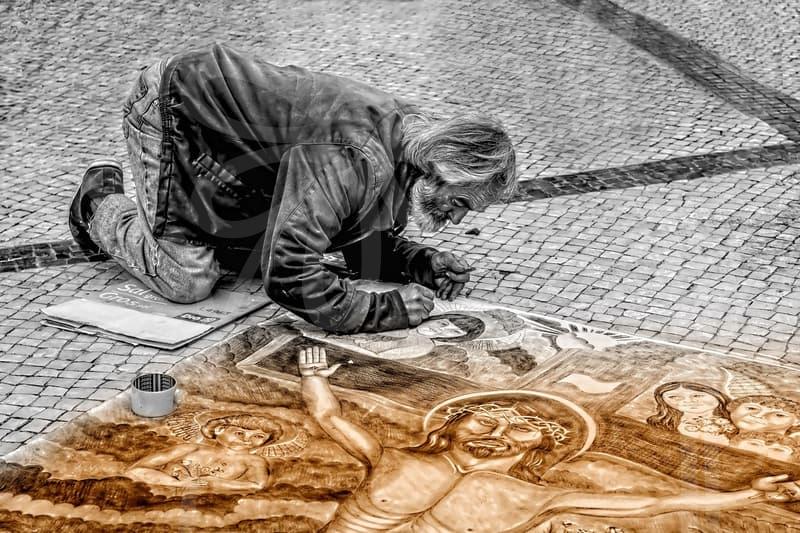
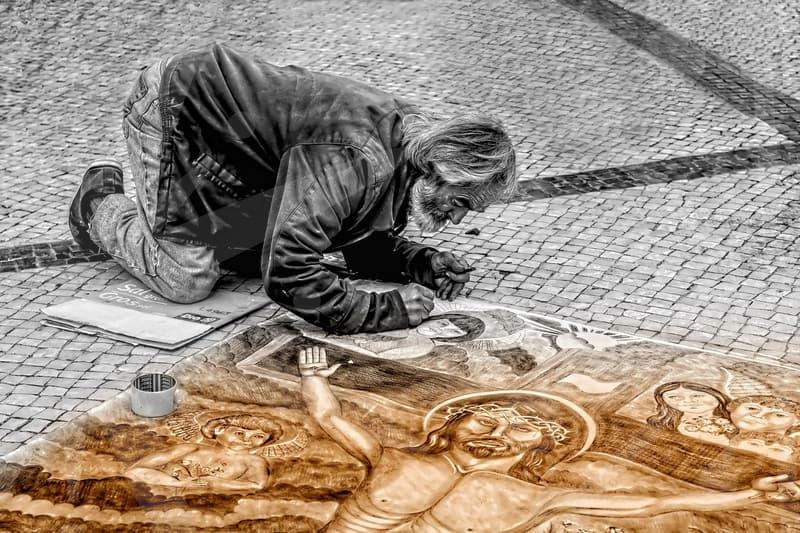
Vector tracing is essentially the process of converting a raster image into a vector graphic. Why is this necessary in a world overflowing with high-resolution digital photos? Imagine you have a company logo that looks fine on your computer screen, but when you send it to a sign company to print on a large billboard that might be 10 meters wide, it turns into a jagged mess. That’s where vector tracing comes in. For professional printing, embroidery, large format displays, or even crisp web graphics that need to adapt to various screen sizes, vector formats are indispensable. A good vector file ensures your brand image remains consistent and professional across all mediums, from a tiny business card to a massive wall graphic.
Manual vs. Automatic Vector Tracing: A Practical Comparison
There are primarily two routes to achieve vector tracing: doing it manually or letting software automate the process. Manual vector tracing involves meticulously drawing over the raster image using vector-based tools in software like Adobe Illustrator or Inkscape. You essentially “re-draw” the original image, defining each line, curve, and shape precisely. This method offers unparalleled control and accuracy, making it ideal for intricate logos, detailed illustrations, or images where every line segment must be perfect. A skilled designer can take a complex raster drawing and recreate it as a flawless vector graphic in approximately one to two hours, depending on the complexity, often yielding superior results compared to an automated approach.
Automatic vector tracing, on the other hand, uses algorithms to detect edges and shapes in a raster image and convert them into vector paths. Most modern vector graphics software, like Illustrator’s Image Trace function, offers this capability. The process typically involves selecting the raster image and applying an auto-trace function, then adjusting various settings such as “threshold” or “palettes” to fine-tune the results. While significantly faster—it can convert a simple image in mere seconds—this method often struggles with complex details, subtle gradients, or poor-quality source images, frequently producing jagged lines, excessive anchor points, or losing fine details. It’s a trade-off: speed for convenience, often at the expense of absolute precision. A common mistake here is assuming the software can perfectly interpret every nuance, especially from a low-resolution JPEG.
When to Use Vector Tracing and When to Skip It
Understanding when to deploy vector tracing is crucial for any project manager or designer looking to optimize their workflow. Vector tracing is undeniably essential for anything that requires crisp, scalable graphics, such as company logos, brand mascots, technical drawings, or product illustrations for print. If you need a graphic to look sharp whether it’s on a postage stamp or the side of a building, a vector format is your only real option. This is also true for cutting machines, such as vinyl cutters or laser engravers, which require precise vector paths to operate effectively.
However, it’s equally important to recognize its limitations. Attempting to vector trace a photographic image, for instance, is generally an exercise in futility. Photographs contain millions of colors and subtle tonal variations that do not translate well into distinct vector shapes; the result usually looks like a highly stylized, abstract illustration, not a scalable photo. Similarly, complex raster paintings with delicate brushstrokes and gradients are poor candidates. In these cases, maintaining the image as a high-resolution raster file or using it for web-only applications where infinite scalability isn’t a hard requirement is often the more practical and time-saving approach. Spending hours trying to convert a photograph into vectors is a classic example of misapplying a tool.
Key Considerations for Successful Vector Tracing
Achieving a clean and usable vector output, particularly with automatic tools, heavily depends on the quality of your source raster image. The clearer and higher-contrast your original image, the better the tracing results will be. Think of it as feeding a clear recipe to a cook: the clearer the instructions, the better the dish. Before you even touch the tracing tool, consider pre-processing your image. This might involve increasing contrast, sharpening edges, or even simplifying colors in a raster editing program like Photoshop. A black and white line drawing, for example, will trace far more accurately than a blurry, multicolored JPEG.
Choosing the right software also plays a role. While Adobe Illustrator is the industry standard with its robust Image Trace feature, free alternatives like Inkscape also offer capable tracing tools. Within these programs, adjusting parameters is key. For automatic tracing, don’t just hit the default button. Experiment with settings like “Mode” (e.g., Black and White, Color, Grayscale), “Path Fitting,” “Minimum Area,” and crucially, the “Threshold” or “Colors” settings. A slight adjustment to the “Colors” setting from 16 to 8 can completely change how a logo’s details are preserved, drastically reducing unnecessary anchor points and simplifying the final vector. These small adjustments are where efficiency truly comes from.
The True Cost of Bad Vector Tracing
In the rush to get things done, it’s easy to overlook the quality of your vector tracing, but this can lead to significant headaches down the line. A poorly traced vector graphic is often worse than no vector at all. Imagine you send a poorly converted logo for a large-scale print job. The printer might reject the file outright due to excessive, jagged anchor points that make clean cutting or printing impossible, or worse, they might print it, and you end up with a blurry, unprofessional result on expensive materials. This isn’t just an aesthetic problem; it’s a tangible financial cost in reprinting, missed deadlines, and damaged brand perception. This is a common rejection reason for small businesses trying to cut corners.
The biggest takeaway is that vector tracing is a powerful tool when used appropriately and diligently. It’s not a magic bullet for turning any raster image into a perfect vector, but it is indispensable for specific use cases. Who benefits most from understanding this? Anyone involved in professional design, printing, branding, or even web development where responsive, scalable graphics are a must. Before embarking on any vector tracing task, always consider the end use of the graphic. If it’s for a high-quality print or a large display, invest the time for a precise manual trace or a carefully finessed auto-trace. If it’s for a simple web icon, a quicker, less perfect auto-trace might suffice. The next step is often to prepare your source image and understand your software’s tracing options, rather than immediately clicking the “trace” button. A good quality vector graphic is an asset; a bad one is a liability.