Smart Photo Editing: Professional Tips for Busy Creatives
Understanding Professional Photo Editing
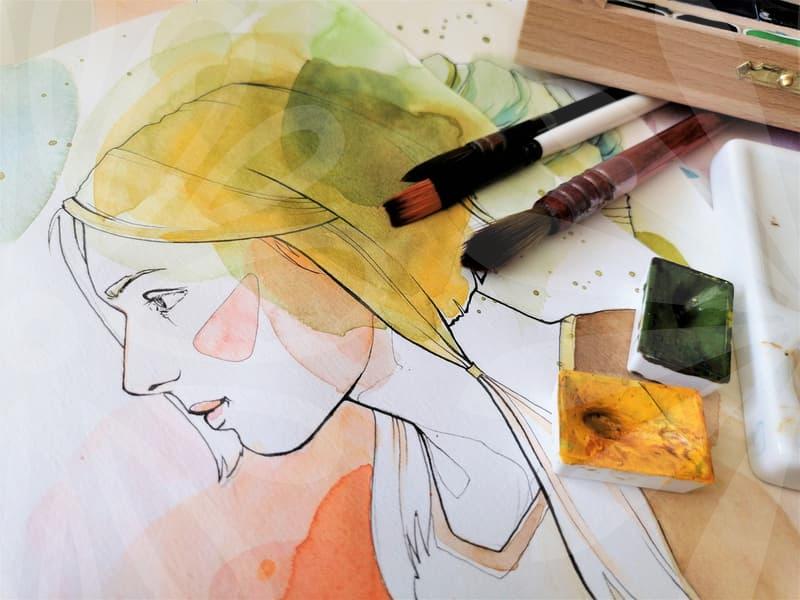
Professional photo editing is far more than just applying filters. It’s a critical step in visual content creation that elevates raw images into polished, impactful assets. For many professionals, from photographers to marketing specialists, mastering editing is as crucial as mastering the camera. The goal isn’t to fabricate reality but to enhance the existing scene, correct imperfections, and ensure the final image aligns with the intended message or brand aesthetic. Think of it as refining a sculptor’s work: the initial form is there, but the final polish brings out its true beauty and intent. This process requires a keen eye for detail and a strategic approach to save valuable time.
It’s easy to confuse professional editing with the quick, often overdone adjustments seen on social media. True professional work is subtle, aiming for clarity, balance, and impact. For instance, editing a wedding photograph requires preserving the emotion and detail of the moment, while editing a product shot demands accuracy in color and form to represent the item faithfully. Each scenario calls for a different approach, emphasizing that editing is not a one-size-fits-all solution but a tailored process to meet specific project requirements.
Essential Photo Editing Workflow for Efficiency
To maintain productivity, especially when dealing with large volumes of images, establishing an efficient editing workflow is paramount. This typically begins with an organized import process, often using software like Adobe Lightroom or Affinity Photo, which allows for batch renaming and initial culling. Instead of editing each photo individually from scratch, leverage presets or custom actions to apply basic adjustments like exposure, contrast, and white balance across multiple images. This can save hours of work.
The next steps involve targeted adjustments. For portraits, this might include subtle skin retouching, eye enhancement, and blemish removal. For product photography, it means precise color correction to match the actual product and sharpening to highlight details. Using layer masks and non-destructive editing techniques ensures flexibility. For example, adjusting skin tone in a portrait might involve selecting the skin area with a mask and then applying a subtle color balance adjustment, ensuring other elements of the image remain unaffected. This meticulous yet efficient process ensures consistency and quality without unnecessary time investment.
Common Photo Editing Mistakes and How to Avoid Them
One of the most frequent errors is over-editing, where images appear unnatural due to excessive manipulation. This often manifests as overly smoothed skin that loses all texture, unnaturally saturated colors, or extreme contrast that crushes shadow details or blows out highlights. Such edits can undermine the credibility of the content, especially in professional contexts like fashion shoots or corporate headshots. Clients expect authenticity, not a plastic-like finish.
Another common pitfall is misunderstanding output requirements. For instance, saving web images at a high resolution (e.g., 300 DPI) unnecessarily bloats file sizes, slowing down website loading times. Conversely, saving print images at a low resolution (e.g., 72 DPI) will result in pixelation when printed. A practical approach involves understanding the final medium. For web use, optimizing images to under 500KB without significant visual degradation is a good target, often achievable by saving as JPEG with a quality setting around 70-80%, or using newer formats like WebP. This careful consideration prevents common issues.
Balancing Quality, Time, and File Size in Photo Editing
The core challenge in photo editing often boils down to balancing three crucial elements: visual quality, the time invested, and the final file size. High-quality, uncompressed images are ideal but can be prohibitively large for web use or storage. Conversely, heavily compressed images might be small but lack the detail and clarity needed for professional presentation. Finding the sweet spot is key to an effective workflow.
For web content, reducing file size is often a priority. Modern tools and formats can significantly help. For example, using services or software features that offer intelligent compression can reduce image file sizes by up to 50% without a noticeable drop in perceived quality. This is crucial for user experience, as faster loading websites retain visitors longer. However, this comes with a trade-off: some extremely fine details or subtle gradients might be lost. It’s a calculated decision based on the specific needs of the project. If archival quality or large-format printing is the goal, prioritizing file size reduction over absolute minimal compression becomes essential.
When Photo Editing Isn’t Enough
While photo editing is powerful, it has its limits. It cannot fundamentally fix a poorly composed shot, severe motion blur caused by camera shake, or a subject that is fundamentally unflattering in the original capture. Attempting to make drastic changes can often lead to artifacts and a visibly “edited” look, which detracts from the professionalism. In such cases, it’s more efficient and effective to reshoot or accept the limitations.
This approach benefits professionals who need to produce consistent, high-quality visuals for their brand or clients. Freelance photographers, small business owners managing their own marketing, and content creators can all leverage these practical editing strategies to enhance their output without becoming bogged down in complex software. Understanding when to edit and when to stop is perhaps the most valuable skill. For those new to professional editing, exploring resources on color theory and composition will provide a stronger foundation than any editing tool alone.