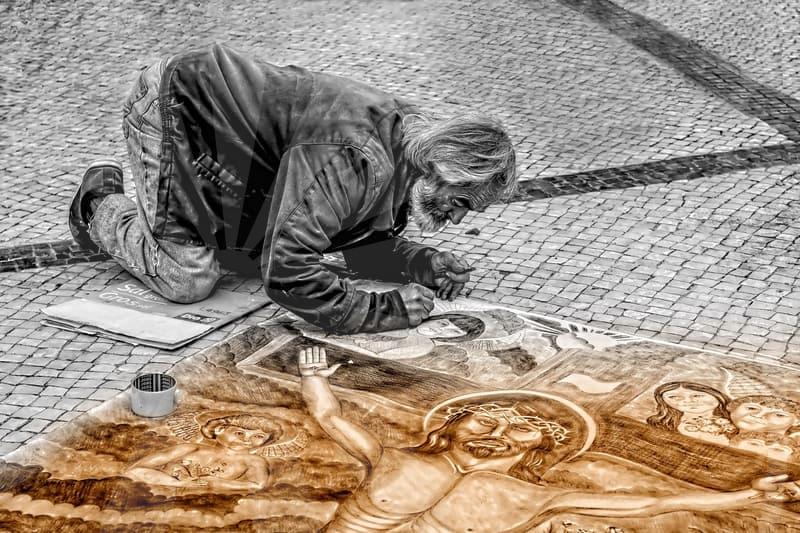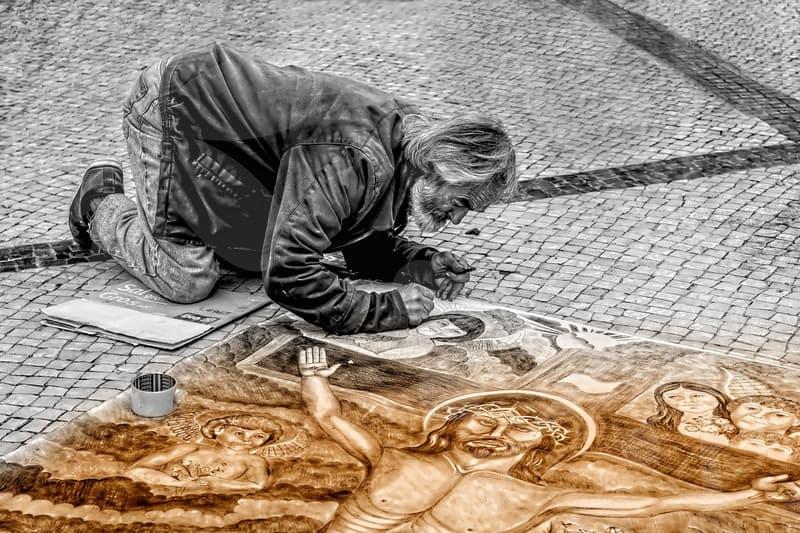
Photo Quality Enhancement That Holds Up
Why does photo quality enhancement fail so often.
Most disappointing edits start with the wrong diagnosis. People see blur, noise, compression artifacts, flat contrast, and poor white balance as one problem, then throw a single AI enhancer at all of it. The result often looks sharper at first glance, but skin turns waxy, text gains jagged edges, and fine details such as hair or fabric become invented rather than recovered.
In practice, low quality images usually break for different reasons. A photo taken on a phone in dim light has sensor noise and motion blur, while a picture saved from a messenger app often suffers from heavy JPEG compression and downscaling. Those two files may look equally bad at thumbnail size, yet they need different treatment if you want a usable result.
This is where many people waste time. They increase sharpness before fixing exposure, or upscale before removing compression damage. It is like ironing a wrinkled shirt after folding it into a box. The order matters more than people expect.
What should you check before editing anything.
A fast inspection takes less than two minutes and saves much longer rework. First, zoom to 100 percent and look at the eyes, hairline, and any text in the frame. If edges are doubled, you are dealing with motion blur. If details look smeared into square blocks, compression is the bigger enemy.
Next, check the file size and dimensions. An image that is only 720 pixels wide will not become a clean print file just because an app offers 4x enhancement. It may become larger, but not truly more detailed. When someone asks for a 3.5 by 4.5 centimeter ID photo at 300 DPI, the target is modest in physical size, yet the face still needs believable texture and clean edges.
Then ask one practical question. Where will this image be used. A profile photo on a phone screen can tolerate more aggressive sharpening than a product image placed on a website hero banner. Once the destination is clear, the editing threshold becomes easier to judge.
A working sequence for photo quality enhancement.
My preferred sequence has four steps, and skipping the order usually shows. Step one is exposure and color correction. If shadows are crushed or the white balance is off, any later detail recovery will exaggerate the wrong tones.
Step two is noise reduction, but only until the grain stops distracting. Many editors push this too far because the preview looks clean at fit-to-screen size. At 100 percent, pores vanish, eyelashes melt together, and dark fabric starts to look like plastic. Good noise reduction should quiet the image, not flatten it.
Step three is local detail recovery. This is where sharpening, texture, or AI detail tools can help, but only in selected areas. Eyes, eyebrows, clothing seams, printed labels, and architectural edges benefit from precision. Skin, skies, and out-of-focus backgrounds often do not.
Step four is resizing for output. If the final use is web, export to the exact display size and test how it looks in a browser, not just inside the editor. If the goal is a document or visa submission, confirm dimensions, DPI, and background requirements before the last export. Ten careful minutes here often prevent a second round of edits later.
AI enhancement or manual correction.
AI tools are useful when the file is small, the deadline is short, or the client only needs social media quality. They are less trustworthy when faces matter, when product textures must be accurate, or when the image will be examined closely. The common trap is mistaking plausible detail for real detail.
Manual correction is slower, but it gives control over what should stay soft and what must become crisp. Consider a portrait taken on an iPhone indoors. An AI pass may brighten the eyes and define the hair, yet it may also invent pores, reshape teeth, and create halos around the jawline. A manual pass with light denoise, selective sharpening, and restrained contrast usually keeps the person recognizable.
The trade-off is simple. AI saves time in the first 80 percent, while manual work protects credibility in the last 20 percent. If the image is tied to identity, product trust, or official paperwork, that last 20 percent is often the whole job.
The hidden damage from compression and repeated saves.
One of the least glamorous problems is also one of the most common. A photo gets edited, sent through chat, downloaded, cropped in another app, and saved again as JPEG. After three or four rounds, smooth gradients break apart, edge contrast becomes brittle, and shadow areas fill with muddy speckles.
People often call this blur, but it is not classic blur. It is cumulative damage from compression. Sharpening that kind of file too early makes the blocks more visible, especially around text, eyelashes, and high contrast edges.
A better approach is to start from the earliest file you can get, ideally the original from the camera roll or source device. If that is impossible, use light artifact reduction before sharpening and avoid repeated exports during the edit. Even choosing PNG for an intermediate save can preserve one more round of detail when you are testing adjustments.
When photo quality enhancement is worth doing.
This work pays off most when the original image still contains recoverable information. Slightly dark portraits, mildly noisy indoor shots, compressed ecommerce images, and older family photos with limited damage can improve a lot with disciplined editing. The gain is noticeable because the problem is technical, not absolute.
It is less useful when the file is severely motion blurred, tiny to begin with, or shot out of focus at the point of capture. No tool can fully rebuild detail that was never recorded. That is the honest limit many apps hide behind dramatic previews.
The people who benefit most are those who use images for work and need them to survive scrutiny, not just look acceptable for a second on a phone. If you have one image to fix today, start by checking its real problem at 100 percent, then decide whether you need cleaner noise, better tone, or true detail recovery. That single decision usually matters more than the software name on the screen.