Mastering Image Editing for Professionals
Understanding the nuances of image editing is crucial in today’s visually driven world. It’s not just about making photos look prettier; it’s about conveying the right message, enhancing clarity, and ensuring professionalism. Whether you’re a marketer creating social media content or a designer preparing graphics for a website, mastering image editing can significantly impact your results.
Many professionals overlook the fundamental principles, thinking that more features equate to better output. However, true efficiency in image editing often comes from a deep understanding of core techniques and a disciplined workflow. For instance, when adjusting exposure, aiming for a precise 1-stop increase or decrease can be far more effective than randomly sliding a bar. This level of control prevents over-brightening or darkening, which are common mistakes that degrade image quality.
The Pitfalls of Over-Editing
One of the most common mistakes I see is the temptation to over-edit. This often stems from a desire to make an image ‘perfect’ but can lead to an artificial or even unsettling result. Consider the case of a political candidate whose campaign photo was heavily retouched with AI. While intended to present an ideal image, the public reaction was negative, with many feeling the candidate looked unrecognizable. The resulting criticism led to calls for resignation, highlighting how excessive editing can backfire, eroding trust rather than building it.
This excessive retouching isn’t limited to political figures. In e-commerce, product photos that are too heavily edited can mislead customers. If a fabric’s texture or a product’s color is significantly altered, buyers might feel deceived upon receiving the item. Maintaining a balance is key. For example, a small adjustment to enhance the vibrancy of a textile can be beneficial, but changing the fundamental color entirely crosses a line. The goal should always be to represent the subject faithfully, with enhancements that clarify rather than distort.
Strategic Image Editing Workflow: A Step-by-Step Approach
A structured approach to image editing can save considerable time and prevent common errors. Let’s break down a typical workflow for professional use, focusing on clarity and impact.
Step 1: Assess and Crop
Before diving into adjustments, take a moment to analyze the image. What is the primary subject? What is the intended message? Often, simply cropping the image to emphasize the subject and remove distracting elements can achieve 80% of the desired effect. For instance, a landscape photo might be improved by a 16:9 crop to fit a banner ad, or a portrait might benefit from a tighter crop focusing on the face. Aim for a final composition that guides the viewer’s eye.
Step 2: White Balance and Exposure Correction
This is where foundational technical adjustments are made. Incorrect white balance can make photos appear too blue or too yellow. I usually aim to neutralize the white balance first, often by selecting a neutral gray or white area within the image as a reference point in software like Adobe Lightroom or Photoshop. Following this, I address exposure. If an image is too dark, I’ll gently lift the shadows and adjust the overall exposure. Conversely, if it’s too bright, I’ll bring down the highlights. It’s rarely beneficial to push these sliders beyond a range of +/- 1.5 stops from the original. Over-manipulating exposure can introduce noise or posterization.
Step 3: Color and Detail Enhancement
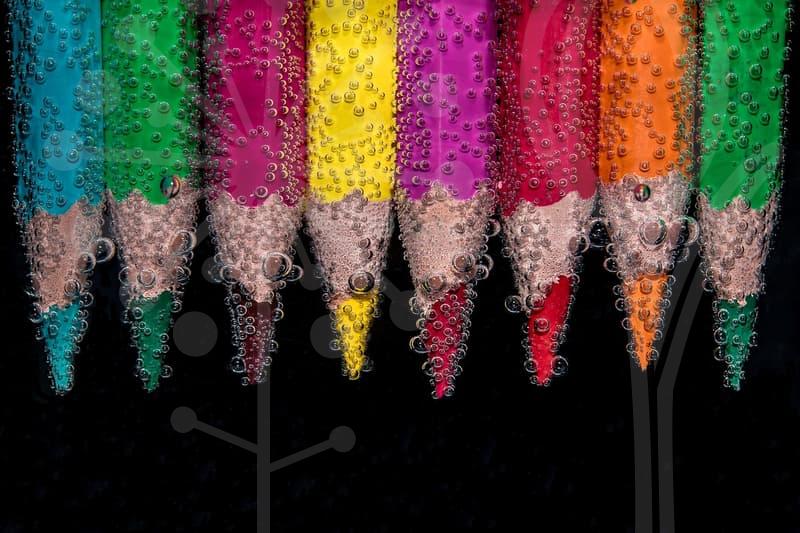
Once the technical foundation is set, focus on color saturation and detail. A slight increase in vibrance can make colors pop without looking unnatural. Avoid pushing saturation too high, as it can lead to oversaturated, garish results. Clarity and sharpness adjustments should also be applied sparingly. For detailed work, like retouching a product for an online store, focusing on enhancing texture and form is more important than applying a generic sharpening filter. For example, when editing a photo of a gourmet meal, you’d want to enhance the texture of the food without making it look plasticky.
Step 4: Final Review and Export
Before finalizing, zoom in to 100% to check for any artifacts or inconsistencies. Ensure that the edits align with the brand’s visual identity or the project’s requirements. When exporting, consider the intended use. For web use, JPEG is common, optimized for file size and quality (typically aiming for a quality setting around 80-90). For print, TIFF or high-quality JPEG is preferred. I usually export at a resolution of 300 PPI for print purposes.
Choosing the Right Tool: Balancing Features and Workflow
There are numerous image editing tools available, from complex professional software like Adobe Photoshop to simpler, web-based editors. The key is to select a tool that fits your specific needs and workflow. While Photoshop offers unparalleled power, its learning curve can be steep, and its subscription cost is a factor for individuals or small teams. For many common tasks, such as adjusting brightness, contrast, and basic color correction, tools like Adobe Lightroom or even free options like GIMP or Photopea can be more than sufficient.
I’ve found that for routine tasks like preparing images for social media or a company blog, using a streamlined tool that allows for quick adjustments and batch processing can be far more efficient than trying to leverage every advanced feature of a complex program. For instance, if you need to resize and slightly adjust the color of 50 product photos, using a batch processing feature in Lightroom or a similar tool can take minutes, whereas doing it manually in Photoshop would take hours. The trade-off is that these simpler tools might lack the sophisticated masking or compositing capabilities needed for highly specialized work, but for the majority of professional content creation, they excel in usability and speed.
Ultimately, effective image editing is about understanding your goals and using the right tools and techniques to achieve them efficiently. It’s about making informed decisions at each step, rather than relying on automated processes or excessive filters. The most impactful edits are often the ones that go unnoticed, simply making the subject clearer and more compelling.
If you’re looking to improve your image editing skills, I recommend focusing on mastering the fundamentals of exposure, color balance, and composition first. You can find many tutorials for specific software, but always test the techniques on your own images. Consider trying out Photopea, a free web-based editor that closely mimics Photoshop’s interface, to practice these core skills without initial investment. The real test is always how well the final image serves its intended purpose.