GIMP workflows for image editing
GIMP basics for edits
GIMP opens a gateway to powerful image editing without cost. The interface brings together a toolbox, a canvas, and stacked layers that mirror a real studio desk. You can start by loading an image and identifying the essential controls you will reuse, like the Move tool, the crop tool, and the brush. Familiarity with these basics unlocks non-destructive workflows that matter for every visual content project.
Work with layers to keep edits separate and reversible. Layer masks extend this freedom by revealing or concealing pixels without erasing the original data. You can blend adjustments with opacity and modes to achieve realistic results. This foundation is crucial when you later perform more complex edits, such as removing blemishes or adjusting color tones.
Consider a wedding photo as a canvas for practice. You might start with a clean layer for retouching skin, another for brightness or color, and a third for sharpening details. Tracking changes through layers helps you compare before and after states quickly. By analyzing the histogram, you build a balanced look that still feels natural.
What shortcuts and habits speed up work in GIMP without sacrificing quality? Learn to use keyboard shortcuts for common tasks and to dock frequently used dialogs for quick access. Naming layers clearly and organizing them in groups keeps complex edits manageable. As you gain confidence, you can experiment with non-destructive filters and plugins to extend control.
Image resize and compress
Resizing images in GIMP is a precise balance between canvas dimensions and pixel density. For image file size reduction, resizing and careful compression are key. Open Image, choose Scale Image, and enter new width or height while preserving the chain to keep aspect ratio. The dialog shows the current resolution and pixel count, guiding you toward the target size.
Compression choices directly affect file size and perceived quality. Export As offers JPEG, PNG, or WebP with a quality slider and format-specific options. For photography with subtle gradients, a quality setting around 85 often preserves detail without creating visible artifacts. For simpler graphics, PNG at a small palette can shrink files without noticeable loss.
Think of it like packing a suitcase for a trip. Do you carry every detail at full weight or compress some bits to fit the limit? In practice, you compare a version at 70, 80, and 90 quality to judge where the difference becomes noticeable. You can also use progressive JPEG to improve perceived quality on slow connections.
Combine resizing with compression by performing a final export to the target format. If you publish on the web, optimize for mobile screens and load times by keeping file sizes under a few hundred kilobytes when possible. Always verify color accuracy after resizing, as shrinking images can influence perceived saturation and contrast. This disciplined workflow keeps visuals crisp across devices while respecting bandwidth limits.
Precise selections
Selections are the gateway to targeted edits in GIMP. The paths tool provides precise curves that can outline complex edges with control points. Quick Mask mode temporarily paints the selection so you can refine with brushes and erasers. Sensible feathering and antialiasing ensure edges blend naturally with the surrounding pixels.
Fine-tune edge quality by expanding or contracting the selection and iterating with add or subtract modes. When extracting a subject, consider color tones and texture to avoid unnaturally crisp boundaries. Use the Grow or Shrink commands to nudge the edge toward the desired boundary, then apply a subtle blur to soften jagged lines. These steps help maintain realism in composites and cutouts.
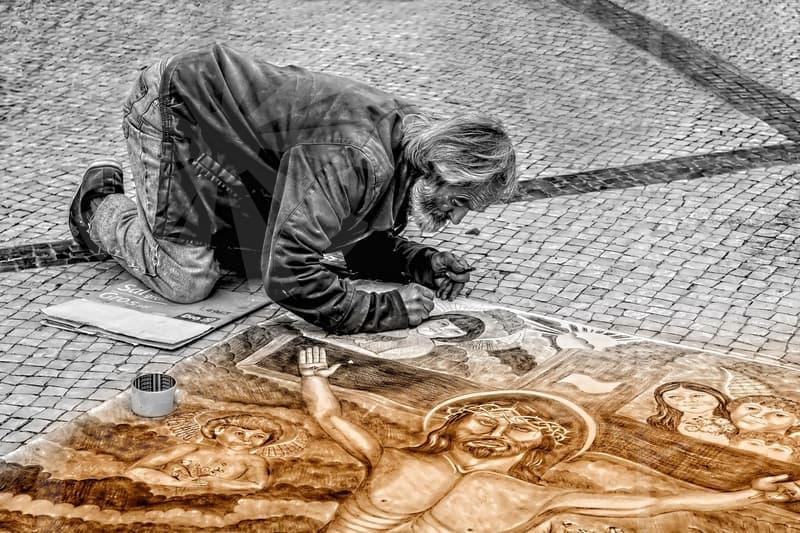
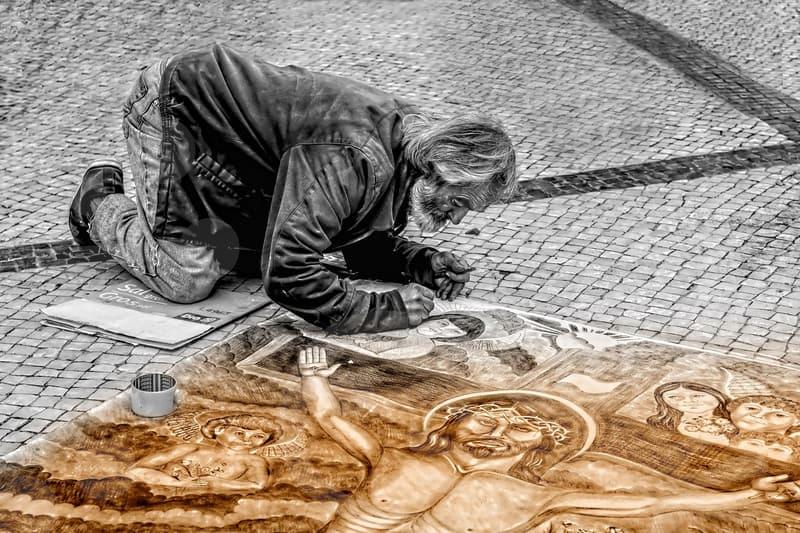
Practice creates readiness for real scenarios such as wedding portraits where complex edges matter. In a crowded scene, you may need to isolate a person from a detailed background, then place them on a new backdrop. Compare edges against the new background and adjust contrast to maintain depth cues. A systematic approach reduces guesswork when time is tight in post production.
Ask yourself what matters most when you select a subject: accuracy, speed, or reversibility. The answer often lies in combining multiple tools, not relying on a single trick. By saving iterative selections as channels or paths, you can reuse decisions across images. This habit accelerates workflows while keeping edits non-destructive and flexible.
Background removal
Background removal is a practical skill for visual content creation, enabling clean composites and impactful collages. Start with a rough selection using the Path Tool or Foreground Select, then switch to a refined mask. Refine edge with a brush to paint on the mask, revealing the subject while concealing the background. This approach preserves hair strands and soft transitions more faithfully than rough cuts.
Layer masks in GIMP provide reversible edits, letting you experiment with different backdrops without destroying original pixels. Use decontour color to reduce halo effects by pushing edge colors toward the subject tint. Combine masks with adjustment layers for global color harmony between the subject and new background. The result should feel intentional rather than forced.
Artists often simulate depth by matching lighting directions and color temperature between foreground and background. A cool tone on the background can pull attention toward a warmer skin tone, but the balance requires careful tweaking. When you adjust shadows and highlights, keep the subject’s luminance within a natural range to preserve realism. These considerations make composites believable rather than pasted.
After building confidence, save your project as a layered PNG or TIFF for future edits and export a flattened version for delivery. For images destined for web galleries, choose a PNG for crisp edges around text and graphics, or JPEG for full color photos with careful compression. Always test the final render on multiple devices to ensure consistent appearance. This disciplined habit ensures your background removal supports diverse presentation needs.