Background Removal Basics for Pics
Why Remove Backgrounds
Background removal isolates the subject, enabling clean composition across product shots, portraits, and multi-background projects.
It gives you control over placement, color harmony, and visual focus, essential for consistent branding.
By removing distractions, designers can test alternative backgrounds quickly.
Think of it as giving your image a new stage where the subject can perform without competing elements.
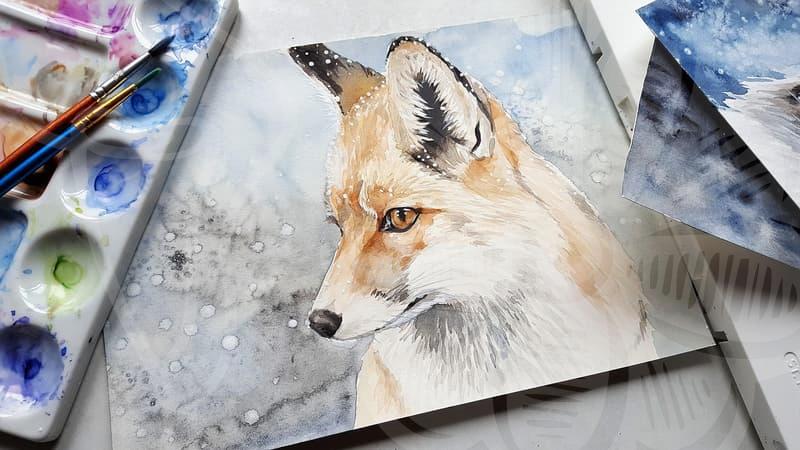
Family photo retouching frequently requires background removal to separate people from cluttered rooms or outdoor scenes.
This step helps preserve skin tones and clothing textures while enabling seamless background swaps.
For professional headshots or corporate visuals, a clean cutout sets the tone for credibility.
Edge control remains critical to avoid halos and preserve subtle details.
Common pitfalls include harsh edges, color spill from adjacent backgrounds, and blur mismatches that reveal the editing.
Setting clear criteria for a natural transition improves downstream compositing.
As you practice, compare how edges look against light sources and keep an eye on high-frequency textures.
The baseline approach evolves with your ability to judge when a background removal supports storytelling rather than just removal.
Precise Edge Techniques
Masking edges with deliberate precision involves choosing appropriate tools, whether the Pen, Quick Mask, or refined selection methods.
For complex subjects like hair, you often switch between rough selection and detailed manual refinement to capture strands.
Edge feathering must be deliberate, avoiding visible halos while maintaining crisp boundaries against varying backgrounds.
Evaluating edges against different backdrops reveals weaknesses that require adjustment.
Refining methods, such as using selection refiners or channels, help preserve fine textures without overprocessing.
When backgrounds vary, test edge integrity against white, gray, and patterned surfaces to ensure consistency.
The subtle distinction between a seamless cutout and a noticeable seam hinges on pixel-level judgments and expert patience.
Remember that edges are not just lines; they carry light behavior that affects overall realism.
Hair and fur often demand advanced approaches like color-aware masking and selective blending to hold volume.
Constructing a realistic cutout means considering transparency, translucency, and how light interacts at boundaries.
In practice, you might zoom to 100 percent and scan for jitter, squeaks, or color halos around fine details.
A solid edge workflow saves time when preparing multiple images for catalogs or e-commerce platforms.
AI and Manual Masking
Artificial intelligence accelerates initial background detection, delivering fast masks that you can refine with hands-on adjustments.
Rely on AI as a first pass, then apply precise manual refinements to address missed edges and hair details.
The balance between automation and artistry defines modern editing workflows in visual content creation.
As you adopt AI, keep a critical eye to avoid overreliance that distorts texture or color.
Manual masking remains essential for nuanced subjects, and expert touch can correct subtle misalignments that AI misses.
Practices like zooming in, adjusting brush hardness, and smoothing transitions are necessary to keep a natural look.
On tough images, switch strategies mid-workflow, using lasso selections or paths to lock in complex shapes.
A thoughtful sequence may involve iterating between global tone corrections and micro-edge adjustments.
Export considerations matter, as edge quality must survive compression, transparency, and display on diverse devices.
Storing layered files allows you to revisit masks without retracing steps, boosting efficiency across similar campaigns.
If you work with stock photos, ensure rights and color consistency to maintain professional credibility.
The evolving AI landscape invites experimentation with new tools while preserving core manual skills.
Color and Shadow Theory
After removing the background, matching color and tonal balance with the new context is essential for realism.
Color cast from original surroundings can betray a cutout when not corrected, especially on skin and fabric.
A practical approach is to sample the target background and apply selective color corrections that preserve natural gradients.
Testing with several backgrounds helps you verify how the subject holds up under different lighting conditions.
Shadows anchor objects and signaling lighting direction, so reintroducing controlled shadows enhances depth and believability.
You can simulate soft drop shadows, ambient occlusion hints, or cast shadows that align with the chosen background geometry.
Pay attention to shadow color, angle, and softness; mismatches are more noticeable than a slight edge discrepancy.
A coherent lighting story across edits signals professional attention to detail.
Finally, consider export formats and color spaces to preserve accuracy across web, print, and social platforms.
Transparent PNGs work well for versatile use, while layered files support future adjustments.
Document your workflow so colleagues can reproduce consistent results on similar projects.
The goal is not a single perfect cutout but a reproducible method that strengthens your overall visual storytelling.