Color grading for skin tones
Color grading basics
Color grading is the process that defines the final mood and consistency of your images. It goes beyond basic exposure and white balance, shaping how colors relate to each other, not just what they look like. When you approach color grading, think of it as a creative control panel for emotion, guiding the viewer’s eye across the frame. Small adjustments in shadows, midtones, and highlights can create a cohesive palette that fits your narrative.
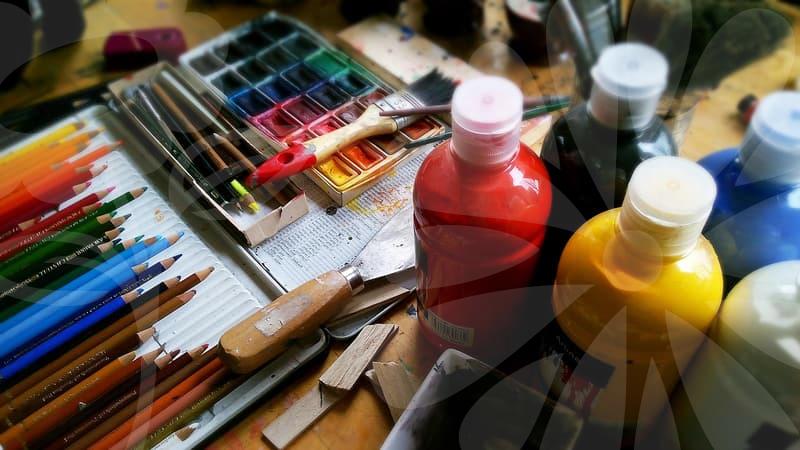
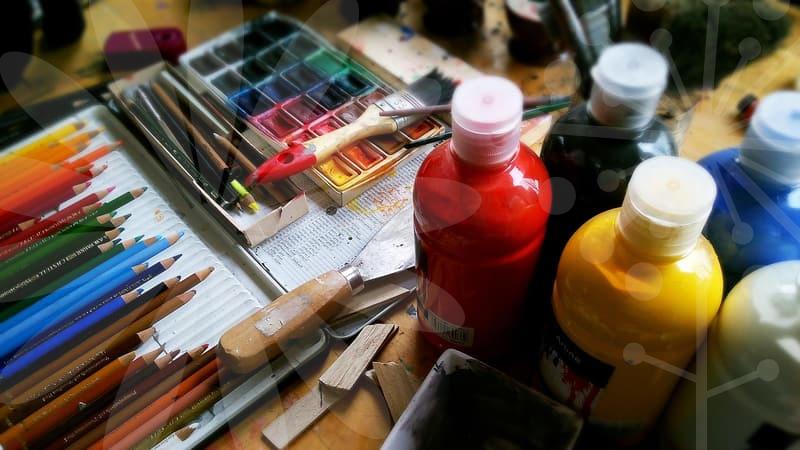
Begin with a reference mood or era, whether you want a natural feel or a cinematic vibe. Use a lightweight, non-destructive workflow so you can compare before and after easily. For old photo restoration, color grading can help rebuild mood while respecting original grain and texture. The aim is harmony, not perfect saturation, so monitor calibration matters.
Color grading should respect the original subject, especially skin tones. A common pitfall is chasing stylized hues that distort complexion. If the skin shifts toward green or gray, back off saturation and re-balance a white point. Always test your look on neutral surfaces and a variety of lighting conditions.
Color spaces and LUTs
Understanding color spaces helps prevent surprises when the image travels from camera to display. sRGB and Rec.709 cover most screens, but wider spaces like P3 or Adobe RGB reveal richer greens and skin tones on capable devices. The key is to pick a space that matches your delivery target and stay consistent through the pipeline. Misalignment often results in muddy colors or clipped highlights.
LUTs provide a starting point for color grading, offering a path from a flat capture to a defined look. Apply a LUT non-destructively and then tune lift, gamma, and gain to taste. Avoid applying a LUT as a final fix; use it as inspiration while keeping control over contrast and saturation. For storytelling, choose LUTs that enhance mood without overpowering texture.
Integrate LUTs with a flexible workflow that allows per-shot tweaks. Calibrate your monitor using a colorimeter and set a consistent reference white. This reduces drift when you compare shots shot under different lighting or cameras. After stacking LUTs, check skin tones remain natural and avoid over-saturation on red channels.
Skin tone management
Skin tone management relies on preserving natural hues while conveying character. Use a vectorscope to track hue angles and a histogram to watch luminance balance. If the skin sways toward ash or orange, adjust hue to red or yellow slightly and fine tune saturation. Aim for a consistent reference across scenes.
Consider the context of lighting: daylight can push waxy highlights, while indoor tungsten leans warm. Create a neutral baseline by setting white balance first, then shape color with targeted curves. Color grade with selective masks to protect skin from being affected by background hues. This keeps portraits readable even when the background shifts.
Practical tips include comparing to a reference skin tone chart and confirming across devices. When clothes or backgrounds share similar tones, apply local adjustments to prevent color bleed. Regularly reset to a neutral before pushing a dramatic look. The goal is skin that reads as healthy, not artificially orange or gray.
Creative looks and mood
Creative looks emerge when color grading supports the story rather than merely looking cool. Consider how tonal curves shape depth, and how color balance shifts influence perception of space. A teal and orange palette can emphasize separation between subject and environment while keeping skin faithful. Experiment with micro-contrast to reveal texture without increasing noise.
Explore palettes that match the narrative, from cinematic greens to pastel clarity. Use selective color in masking to tint backgrounds differently from skin and accents. How would a vintage photo feel with a faded teal cast, or a bright summer mood with airy pastels? The path to curiosity is in controlled deviation, not random noise.
Finally, test your grade on different screens and print proofs to understand real-world appearance. Gather feedback from peers to refine tone and balance. Document your workflow so you can reproduce looks across projects. With practice, color grading becomes a storytelling instrument rather than a final ornament.