Mastering image editing for visuals
AI driven editing
AI driven editing reshapes how we approach image editing by turning complex tasks into guided actions. Modern AI features can perform rapid selections, sky replacement, and texture enhancement with minimal manual input. This shifts the focus from pixel chasing to concept realization, where intent guides the result. In practice, you can guide the edit with a description of the mood or look and the AI translates that into edits while preserving natural edges and details.
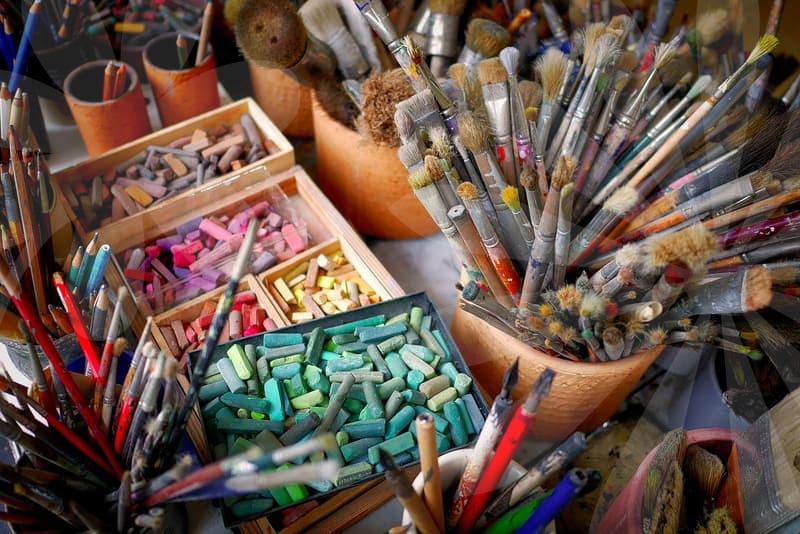
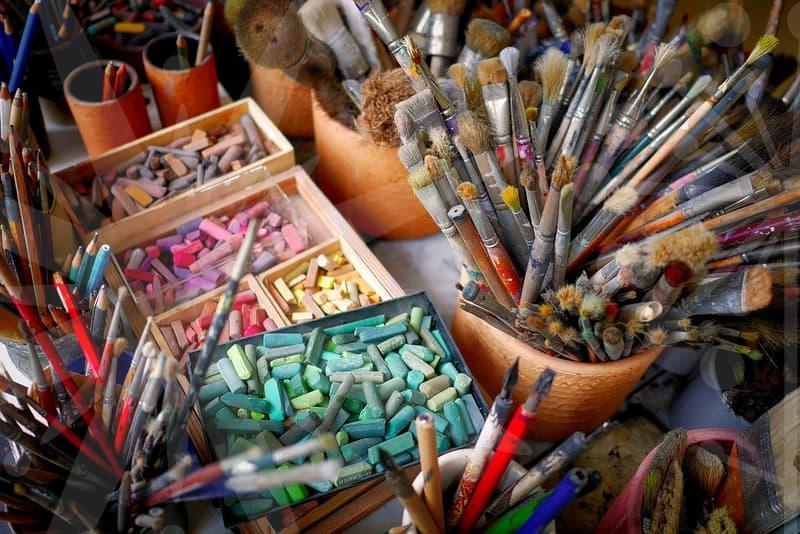
Experimenting with Photoshop brushes and AI assisted tools expands creative control. You might rely on traditional masking techniques while AI suggests adjustments that harmonize color and texture across a scene. The synergy between manual finesse and automated suggestions helps produce consistent results faster. When paths diverge, compare versions side by side and choose the edit that aligns with your concept.
AI can assist with routine asset preparation such as converting files to AI friendly formats and supplying style transfers for branding. For example, converting a business card photo into a print ready format or producing image AI style variants can save time. You can also explore free cutout tools to isolate subjects without heavy editing when source images are busy. Keep a log of versions to trace how an AI driven decision progressed to the final look.
Color grading essentials
Color grading sets the emotional tone of an image and aligns it with a broader visual language. It involves balancing contrast, warmth, and saturation so that skin tones read naturally while the scene supports the intended mood. The process often starts with a reference and ends with a calibrated look that remains consistent across scenes. Think of color decisions as a storytelling layer that guides the viewer without shouting.
Using LUTs or AI based color mapping can accelerate this work, especially when editing a series for social media or campaigns. The goal is to create a cohesive palette that travels across images, so your audience recognizes the brand voice. Do not rely on a single preset; adjust curves and color balance to preserve detail in highlights and shadows. This question guides deliberate testing across different lighting conditions to preserve realism.
Non destructive adjustments help experiment with color grade without irreversible changes. Layered adjustments, masks, and smart objects keep the original image intact while you refine the result. A practical approach is to apply color changes on separate adjustment layers and use layer blending to control impact. This enables quick iteration and auditable history when collaborating with others.
Non destructive editing
Non destructive editing preserves the original data while enabling flexible experimentation. Smart objects allow scaling and transformation without data loss, and masking keeps edits isolated to targeted areas. Using adjustment layers ensures you can revisit color or exposure changes at any time. The principle is to build edits as a stack of reversible decisions rather than permanent pixel changes.
Masks, selections, and cloning with non destructive methods help maintain edge quality and detail. Clipping masks restrict edits to specific layers, while content aware tools propose fills that respect surrounding texture. Snapshots and history states provide quick rollbacks if a step does not meet the desired direction. This discipline reduces risk when experimenting with composites or retouching.
Collaborative workflows benefit from non destructive practices, especially when assets circulate through teams. Saving templates for recurring tasks, such as product photography retouching, saves time without sacrificing quality. Version control and clear naming conventions keep everyone aligned as projects evolve. When you return to a file after weeks, the trail of decisions should be easy to follow.
Export formats guide
Exporting and selecting formats depend on the final platform, audience, and sharing expectations. For web use, optimize for JPEG or PNG with color profiles tuned to sRGB and with mindful compression. For print, consider TIFF or high quality JPEG and keep an embedded color profile to avoid shifts in print results. Understanding resolution and dimension constraints helps avoid surprises in the final output.
Different assets require different packaging, such as PDFs for brochures, SVGs for icons, and PNGs for web graphics. When preparing a business card photo or illustrated icons, maintain vector quality where possible and preserve sharp edges in raster exports. For motion or looping visuals, GIF compression strategies can maintain smooth animation without bloating files. Always test exports in real environments to verify appearance and performance.
Automation streamlines export work through batch presets and metadata preservation. You can set up export presets for web, print, and social media to eliminate repetitive steps. Metadata handling helps with asset management and searchability within large libraries. Keeping a clean archive with versioned exports makes revisiting projects easier and safer over time.