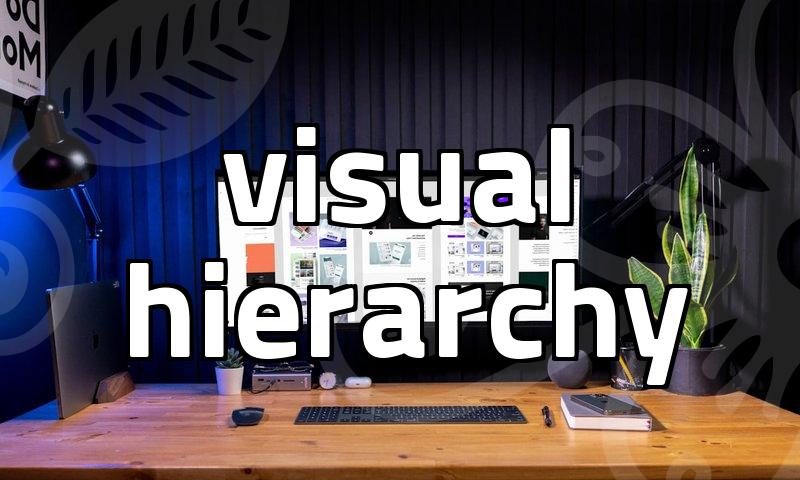
Essential Image Editing for Professionals
Effective image editing is no longer a niche skill but a necessity for many professionals. Whether it’s for marketing materials, presentations, or even internal reports, clear and compelling visuals can make a significant difference in how information is received. Mastering some fundamental image editing techniques can save time and resources, moving beyond mere aesthetics to functional communication.
Think about the last time you received a document or proposal with blurry or poorly cropped images. It immediately detracts from the professionalism, doesn’t it? This is where solid image editing skills come into play. It’s not about making every photo look like a Hollywood production; it’s about ensuring clarity, coherence, and impact.
Common Pitfalls in Image Editing and How to Avoid Them
Many professionals dive into image editing with tools like Adobe Photoshop, expecting magical results without understanding the basics. A common mistake is over-editing, especially with AI-powered tools. For instance, trying to drastically alter an image with generative AI can often lead to unnatural artifacts or a completely unrealistic appearance, as seen in some widely circulated but questionable AI-generated images. If the goal is to create a believable image for, say, a fashion catalog, pushing AI too far can backfire, making the final product look cheap and untrustworthy. Another frequent issue is poor resolution. Uploading low-resolution images to editing software and trying to enlarge them often results in pixelation and loss of detail, rendering the final output unusable for print or high-quality digital display. Aiming for images with at least 300 DPI for print, or 1920 pixels wide for web, is a good starting point.
Understanding the purpose of the image is crucial. Are you creating a menu for a restaurant, or compiling a family photo album for digital sharing? The demands are different. For a restaurant menu, clarity and appetizing presentation are key, often requiring precise adjustments to color and contrast to make food look its best. For a family album, maintaining a natural look while perhaps removing minor blemishes or background distractions is usually sufficient. Misjudging this can lead to an image that is technically well-edited but fails to meet the intended communication goal.
Decoding Image Editing Workflows: A Step-by-Step Approach
Let’s break down a typical workflow for preparing an image for a professional context, say, a product shot for an e-commerce site. This isn’t about advanced manipulation but about achieving a clean, effective result quickly. Using a tool like Adobe Photoshop CC, the process might look something like this:
- Import and Crop: Open the image. Immediately assess if cropping is needed to improve composition or remove unnecessary background elements. For e-commerce, a standard aspect ratio, like 1:1 or 4:3, is often preferred. This step typically takes 30 seconds to 2 minutes, depending on complexity.
- Basic Adjustments: Adjust brightness, contrast, and highlights/shadows. The goal is to ensure the product is clearly visible and well-lit. Avoid extreme settings; subtle adjustments are usually best. This might take another 1–3 minutes.
- Color Correction: Ensure colors are accurate and appealing. If it’s a product, the color should match the actual item as closely as possible. Tools like the ‘Color Balance’ or ‘Hue/Saturation’ can be very effective here, used sparingly. This step can take 2–5 minutes.
- Retouching (if necessary): Remove minor dust spots, scratches, or small imperfections on the product. The ‘Spot Healing Brush’ or ‘Clone Stamp’ tools are useful. For product images, keep this minimal to maintain realism. This could take anywhere from 30 seconds to 5 minutes per image.
- Background Cleanup/Removal: If the background needs to be pure white or transparent, use selection tools like the ‘Quick Selection Tool’ or the ‘Pen Tool’ for precision. Extracting an object with clean edges is critical for a professional look. This is often the most time-consuming part, potentially taking 5–15 minutes for a complex product.
- Export: Save the image in the appropriate format (JPEG for web, PNG for transparency) and resolution. For web use, optimizing file size without significant quality loss is important, usually aiming for under 200KB per image.
This entire process, for a single image, could realistically take anywhere from 10 to 30 minutes, depending on the initial quality and the tool’s familiarity. It’s a focused approach that prioritizes clarity and professionalism over artistic flair.
When Image Editing Becomes a Bottleneck
While powerful, image editing software can also be a time sink. Consider the scenario of needing to edit photos for a social media campaign that requires 20 different product variations. If each image takes an average of 15 minutes to edit properly, that’s 300 minutes, or 5 hours of work. This is where the trade-off becomes apparent: investing time in learning efficient techniques or potentially outsourcing can be more practical than getting bogged down in endless tweaking.
Another downside is the learning curve. For tools like Photoshop, becoming proficient enough to perform complex tasks like seamless photo compositing or detailed retouching can take months, if not years. Many users opt for simpler, more streamlined tools when their needs are basic, such as removing backgrounds or resizing images. For instance, many online services offer quick background removal for a small fee or subscription, which can be far more efficient than learning intricate masking techniques in Photoshop if that’s your sole requirement.
The choice often boils down to the volume and complexity of your editing needs. If you’re handling a high volume of similar edits, like catalog photos or social media assets, investing in learning efficient workflows or specialized batch processing tools is worthwhile. If your needs are infrequent and simple, like adjusting a headshot or cropping a report image, even a simpler tool might suffice. Understanding these limitations helps in setting realistic expectations and choosing the right approach.
For anyone struggling with image editing bottlenecks or needing to scale their visual content production, exploring dedicated background removal services or even simpler, user-friendly editors like Canva for basic layouts can be a strategic move. Understanding the core principles of good image editing, however, will always provide a foundation, regardless of the tools used.