What is Vector Tracing and When Should You Use It?
Vector tracing is a process where you convert a raster image, like a JPG or PNG, into a vector graphic. Think of it like redrawing a pixelated image with clean, scalable lines. Raster images are made of tiny squares called pixels, and they lose quality when you zoom in. Vector graphics, on the other hand, are based on mathematical equations, so they can be scaled infinitely without any loss of detail.
This distinction is crucial for anyone working with graphics, from designers creating logos to engineers incorporating designs into CAD software. The ability to resize an image without it becoming blurry or jagged is a significant advantage. For instance, a logo that looks sharp on a business card should also appear crisp on a billboard. That’s where vector tracing shines.
Why Vectorize Your Images?
There are several practical reasons why you might need to vectorize an image. One common scenario is when you receive a design element, like a company logo, in a raster format but need it for a project requiring scalability. Imagine a client provides their logo as a low-resolution JPG. If you try to enlarge this for a large banner, it will quickly turn into a pixelated mess. This is a situation where vector tracing becomes not just helpful, but essential.
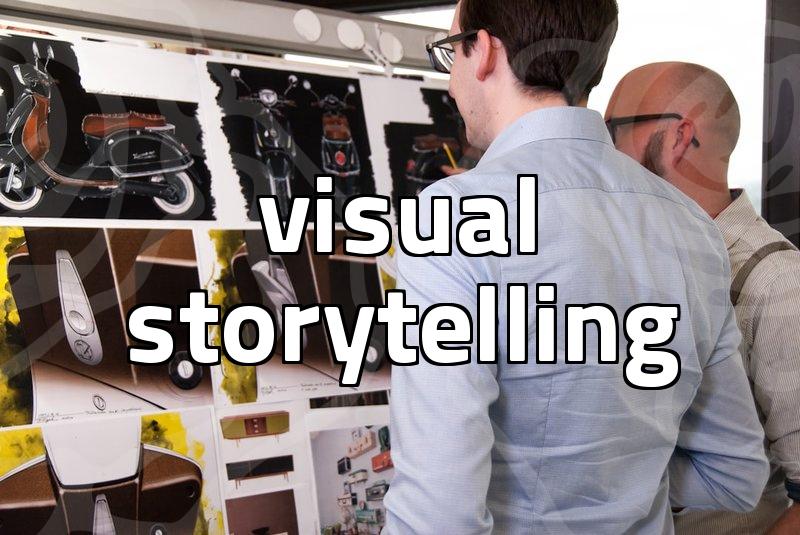
Another key application is in industries like manufacturing and architecture. In CAD (Computer-Aided Design) environments, precise lines and shapes are paramount. Vector tracing can transform scanned blueprints or hand-drawn sketches into editable CAD blocks. This automates a process that would otherwise be incredibly time-consuming and prone to manual error. For example, converting a scanned architectural drawing into clean vector lines can save hours of redraw time.
Furthermore, if you’re preparing graphics for print, especially for items like t-shirts, signage, or embroidery, vectors are often preferred. They ensure sharp edges and allow for easy color separation. Trying to get a clean print from a pixelated source can lead to disappointing results, costing time and money on reprints.
The Vector Tracing Process: A Step-by-Step Breakdown
Understanding the general process can demystify vector tracing. While software tools automate much of this, knowing the underlying steps helps in choosing the right approach and software. Most vector tracing involves several key stages.
First, you typically need to prepare your raster image. This might involve cleaning it up, adjusting contrast, or removing unwanted backgrounds. A cleaner source image will always yield better tracing results. For example, removing a busy background from a logo before tracing can prevent extraneous lines from appearing in the vector output.
Next, the software analyzes the image to identify edges, shapes, and colors. This is where algorithms come into play. They detect boundaries between different color areas and interpret them as potential paths. This stage can take anywhere from a few seconds to several minutes, depending on the complexity of the image and the software’s processing power.
Then, the software converts these detected boundaries into vector paths. These paths are made up of points and curves that define the shapes. You can often adjust settings here, such as the number of colors to reduce, the level of detail, or the corner fitting. For instance, when tracing a photograph, you’d typically reduce the color palette significantly to get a stylized vector effect, rather than trying to capture every subtle shade.
Finally, you refine the resulting vector graphic. This is where manual intervention is often necessary. You might need to adjust anchor points, smooth out curves, or clean up stray paths. For a logo, you’d want to ensure all lines are perfectly smooth and the curves are aesthetically pleasing. This refinement stage is critical for achieving a professional-quality output and typically takes more time than the automated tracing itself. A typical manual cleanup for a moderately complex logo might take 15-30 minutes.
When to Stick with Raster, and When to Vectorize
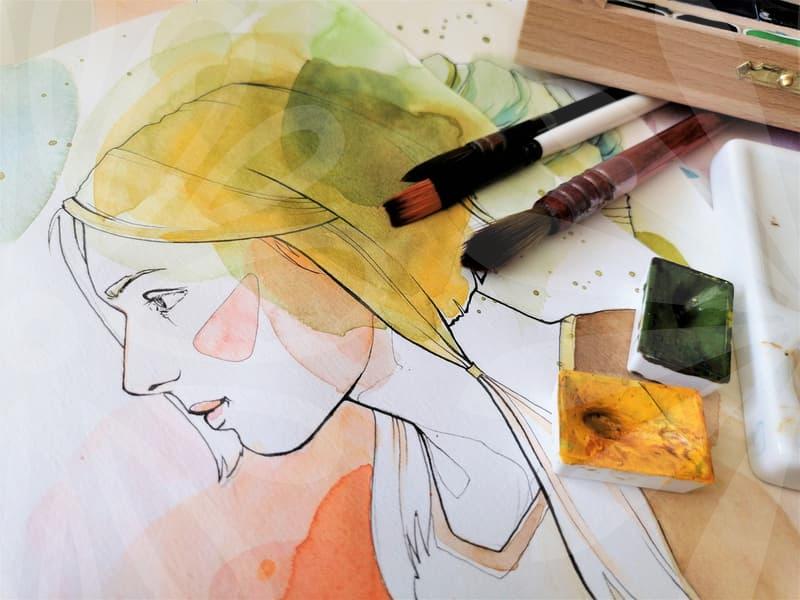
It’s important to recognize that vector tracing isn’t a magic bullet for all image needs. There are definite trade-offs. Raster images excel at capturing photographic detail, subtle color gradients, and complex textures. If your goal is to display a realistic photograph on a website or in a digital magazine, keeping it as a raster image is usually the best option. Attempting to trace a high-detail photograph into a vector graphic will likely result in a stylized, simplified representation, losing the original photographic quality.
Vector graphics are ideal for logos, icons, illustrations, text, and anything that needs to be scaled. They are resolution-independent, meaning they look sharp at any size. For instance, if you are designing a business card and a large trade show banner with the same design elements, starting with a vector format ensures consistency and quality across both.
However, vectorization does have its downsides. Complex raster images with smooth gradients and fine details can be challenging to convert accurately. Often, the traced vector version will appear simplified or posterized, losing some of the original image’s nuance. Also, the process of manual refinement can be time-consuming, especially for intricate designs. If you have a simple raster image, like a basic line drawing or a logo, tracing might take under an hour. For a complex illustration, it could take several hours or even days of meticulous work.
The decision often comes down to the intended use. For print and scalable graphics, vectors are usually the way to go. For detailed photographic representation, raster remains supreme. Considering the end product and the required flexibility will guide you to the right format. For example, a digital painting meant for online display will likely remain raster, while an icon for an app interface would be best as a vector.
Alternatives and Common Pitfalls
Instead of manual vector tracing or using automated software, some people attempt to use image editing tools that offer ‘auto-trace’ functions. While convenient for very simple shapes, these often produce messy results with too many points and irregular curves. This can actually create more work during the cleanup phase than starting with a dedicated tracing tool. For instance, trying to trace a complex handwriting sample with a basic auto-trace function might result in an unreadable mess.
One common mistake is assuming that automated tracing will produce a perfect vector file. It rarely does. Expect to spend time cleaning up the output, adjusting curves, and simplifying paths. Another pitfall is trying to trace an image that is too low-resolution or too complex for the desired outcome. If a logo is heavily pixelated, tracing it will still require significant manual input to achieve clean lines.
When choosing software, consider your specific needs. Adobe Illustrator’s ‘Image Trace’ is powerful but can have a learning curve. Affinity Designer offers similar capabilities. For more specialized needs, like converting scanned documents into CAD-ready vectors, dedicated software might be better. For example, some engineering firms use specialized programs that can interpret scanned technical drawings with high accuracy, often saving hundreds of hours per project.
Ultimately, vector tracing is a powerful technique when applied appropriately. It bridges the gap between pixel-based images and the world of scalable vector graphics, offering immense practical benefits for designers, engineers, and anyone who needs their visuals to perform at any size. If you need a logo or graphic that can be used across diverse media without quality degradation, understanding vector tracing is essential. For the latest updates on vector graphics software and techniques, checking out design blogs or software forums is a good next step.