Mastering Product Photography for Your Business
Effective product photography is crucial for any business aiming to make a strong visual impression online. It’s not just about having a camera; it’s about understanding how to present your items in the best possible light, literally and figuratively. Many struggle with this, often ending up with images that fail to capture attention or, worse, misrepresent the product itself. The goal is to create visuals that are both appealing and informative, driving customer interest and, ultimately, sales.
The Foundation: Planning Your Product Photoshoot
Before even picking up a camera, thorough planning is essential. This isn’t a step to rush. Consider the final destination of your images. Are they for a website, an e-commerce platform like Amazon, a social media feed, or a printed catalog? Each platform has different resolution and aspect ratio requirements. For instance, Amazon often requires images with a pure white background and specific pixel dimensions, typically at least 1000 pixels on the longest side to enable zoom functionality. This means planning needs to go beyond just the aesthetic; technical specifications must be factored in from the start. Gathering all products, props, and ensuring they are clean and ready can easily take an hour or two, depending on the scale of the shoot.
Achieving Professional Results Without a Studio
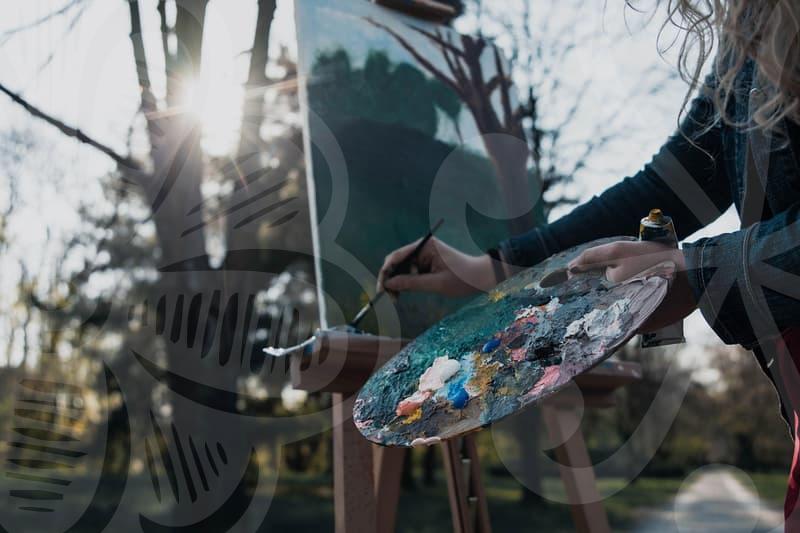
Many small business owners believe a professional studio setup is a prerequisite for good product photography. This is often a misconception. With careful consideration, excellent results can be achieved using accessible resources. Natural light is your best friend here. Shooting near a window on an overcast day provides soft, diffused lighting that minimizes harsh shadows. If direct sunlight is your only option, use a sheer curtain or a diffuser (even a piece of white paper can work in a pinch) to soften it. For a clean background, a large piece of white poster board or a seamless paper roll is effective. You can purchase a 36-inch wide paper roll for around $30-$50, which is more than sufficient for most small to medium-sized products. Positioning the product a foot or two away from the background material can help create depth and prevent the background from looking flat.
Step-by-Step: A Simple Product Photography Workflow
Let’s break down a common workflow for photographing products, assuming you’re working with a single item and aiming for a clean look. This process can be adapted, but it provides a solid starting point.
- Preparation: Ensure your product is impeccably clean. Dust or smudges are magnified in photos. Gather your background material and lighting setup (e.g., a window and a reflector).
- Setup: Position your background material so it curves from the surface behind the product to the surface in front, creating a seamless look. Place your product on the surface.
- Lighting: Position yourself so the natural light source is to the side of your product, not directly in front or behind. Use a reflector (a white card, foam board, or even a wall) on the opposite side of the light source to bounce light back into the shadows, filling them in and revealing detail. This often takes trial and error; move the reflector around until the shadows look balanced.
- Camera Angle: Shoot from various angles – straight on, slightly from above, and a close-up to show detail. Experiment with different focal lengths if using a zoom lens. For instance, a 50mm lens on a full-frame camera is often considered versatile for product shots, avoiding distortion.
- Capture: Take multiple shots of each angle, slightly adjusting the camera position or lighting. Don’t be afraid to take dozens of photos; digital storage is cheap.
- Review and Select: Upload your photos and review them on a larger screen. Select the best ones, looking for sharp focus, good lighting, and accurate color representation.
This methodical approach ensures you capture the best possible images with minimal fuss. It’s about controlled execution rather than relying on luck.
Common Pitfalls and How to Avoid Them
One of the most frequent mistakes I see is inconsistent lighting and distracting backgrounds. People often shoot in rooms with mixed light sources (e.g., overhead lights and window light), leading to color casts and uneven illumination. The fix is simple: turn off overhead lights and rely solely on natural light or a consistent artificial light source. Another common issue is a busy background that pulls attention away from the product. Even a nicely patterned tablecloth or a cluttered desk can ruin an otherwise good shot. If you don’t have seamless paper, find a plain, neutral-colored wall or use a large piece of fabric that is well-ironed. Remember, the product should be the undisputed star of the image.
Editing: The Final Polish
Post-processing is where you can elevate good photos to great ones. Basic adjustments can make a significant difference. Brightness and contrast are key for making products pop. Adjusting the white balance is crucial to ensure colors are accurate – that white t-shirt should look white, not blue or yellow. Sharpening can add definition, but be judicious; over-sharpening looks artificial. Cropping to improve composition is also important. Many smartphones now have capable editing apps, and programs like Adobe Lightroom or even free alternatives like GIMP offer robust editing capabilities. Dedicating even 15-30 minutes per product image for editing can yield professional-looking results, which is far more time-efficient than reshooting everything.
This advice is most beneficial for individuals or small businesses looking to improve their product visuals without a large budget. If you’re a large corporation with a dedicated marketing team and professional equipment, your needs might be more complex. For the rest of us, mastering basic photography principles and efficient editing is the most practical path to impactful product photography.