Remove People from Photos Easily
Reasons to Remove People
In visual content creation, removing unwanted people can help you focus on the subject and the story you want to tell. It lets you control the viewer’s attention, lighting mood, and composition without distractions. Privacy, consent, and copyright concerns also guide why you might edit out bystanders.
Consider a travel shot where crowds overpower the scene. By removing a passerby, you can reclaim negative space and enhance the horizon. It prompts you to ask what the image should communicate, not who happened to walk through frame.
Plan ahead by imagining the final frame before you edit. This helps you decide where the background should remain consistent. Think about shadows and reflections so the edit feels seamless rather than pasted.
Choosing the Right Tool
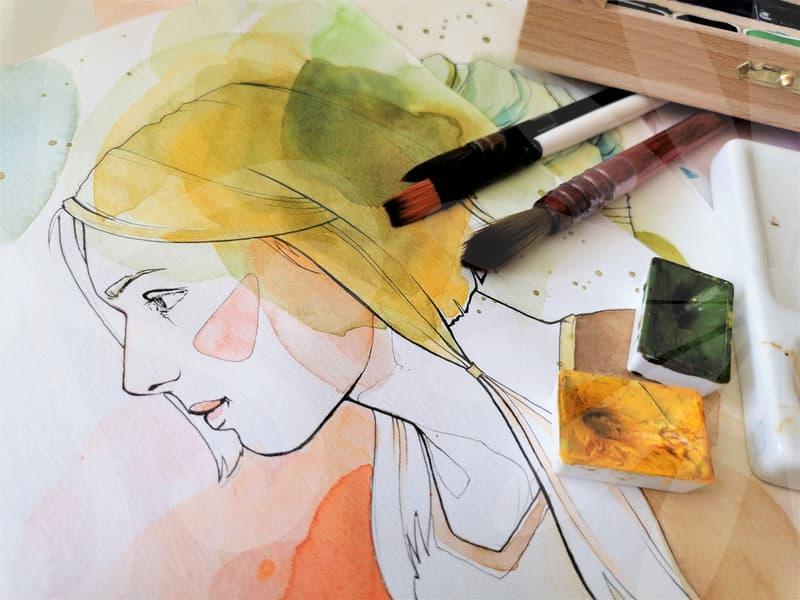
The choice of tool shapes speed and precision. Photoshop remains powerful for complex cut-outs and precise edges, while Capture One offers robust color control that helps you match backgrounds. PIXLR and other photo editors provide accessible options when you need a quick result.
Begin with a careful selection, then switch to non-destructive edits. Use mask layers, refine edge, and decontaminate color spill to avoid halos. If you prefer free options, try 누끼-like cut-out approaches on free tools, but expect longer cleanup times.
Develop a clean workflow that supports future edits. Save as layered PSD or TIFF to preserve masks. Organize assets with descriptive names so you can reassemble backgrounds later.
Masking Precision
Edge quality determines whether the removal looks real. Practice with hair and wispy strands using refine edge or select and mask tools. Subtle feathering and smart radius help blend the subject with the new background. Try to preserve natural edge transitions rather than over-softening.
Color and lighting must align, not conflict. Use channels, color range selections, or luminosity masks to tighten the transition. These techniques reduce evidence of a cut-out when viewed on mobile or large displays.
Be mindful of motion blur and depth of field. If the original shot includes blurred scenery, ensure the background you insert follows the same focus plane. This maintains depth cues and viewer immersion.
Consistent Edits
After removing a person, maintain consistent lighting and color balance across the frame. Adjust white balance and shadows so the subject and background feel part of one scene. A mismatched color cast is the first clue that an edit happened.
Background replacement requires perspective and scale checks. Align horizon lines and vanishing points to keep the scene believable. A slight mismatch can pull the viewer out of the moment.
Finally, review for halos, edge fringing, and ghosting. Zoom in to review hair edges and reflective surfaces for residual artifacts. A careful pass with small corrections makes the composition trustworthy.