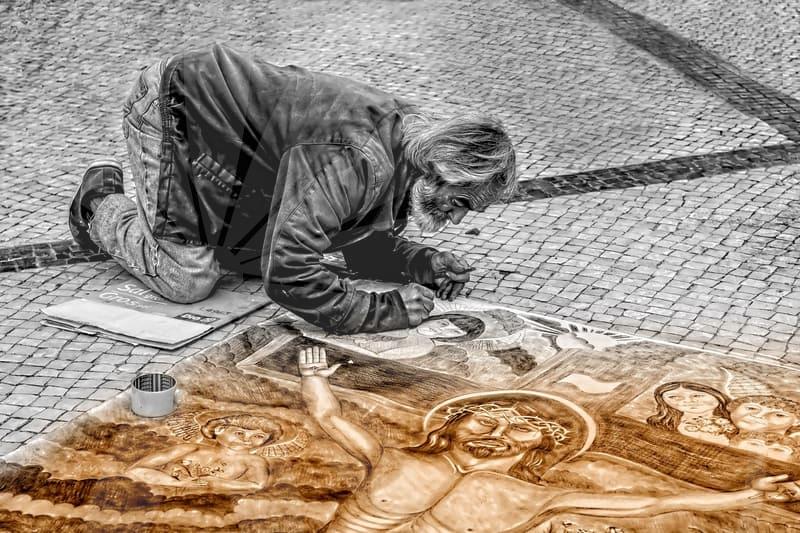
Mastering Head Swapping for Realistic Photos
The demand for compelling visual content has never been higher, and sometimes, the perfect shot requires a little… adjustment. Head swapping, or ‘머리합성’ as it’s known, is a powerful technique in photo editing that allows us to composite a new head onto an existing body. While it sounds straightforward, achieving a natural and believable result involves a keen eye for detail and a solid understanding of the process. Many people stumble at the first hurdle, creating composites that look jarringly out of place.
The Anatomy of a Believable Head Swap
Achieving a convincing head swap is more than just cutting and pasting. Several critical factors need careful consideration. Firstly, lighting and shadow consistency is paramount. If the light source on the head doesn’t match the direction and intensity of the light on the body, the composite will immediately feel artificial. Look for highlights and shadows – are they falling in the same places? Are they the same color temperature?
Secondly, perspective and scale must align. A head that is too large or too small for the body, or one that appears to be looking from a different angle, will break the illusion. This often requires not just resizing but also subtle rotation or even skewing to match the body’s pose and viewpoint. Imagine trying to fit a slightly tilted head onto a body that’s looking straight ahead; it just won’t sit right.
Finally, skin tone and texture matching is crucial. Even with perfect lighting, if the skin tones are wildly different, or if one head looks overly smooth while the other has visible pores, the disconnect is obvious. Minor color correction and even some subtle texture adjustments might be necessary to blend them seamlessly. Think of it like matching paint colors – a slight variation can be noticeable.
Step-by-Step: Executing a Head Swap in Photoshop
Let’s walk through a practical scenario for creating a head swap. Suppose you have a great photo of a person’s body, but the headshot isn’t quite right for the context – perhaps it’s a professional portrait needed for a conference photo. We’ll assume you have a separate headshot with similar lighting conditions.
-
Isolate the Head: Use selection tools like the Pen Tool or Quick Selection Tool in Photoshop to meticulously outline the head you want to use. Zoom in closely – at least 200% – to capture every strand of hair and the edge of the jawline accurately. A clean selection is the foundation of a good swap.
-
Place and Align: Copy the selected head and paste it onto the body image as a new layer. Use the Free Transform tool (Ctrl+T or Cmd+T) to resize and rotate the head to roughly match the body’s neck and head position. Pay close attention to the direction the subject is looking and the angle of their shoulders.
-
Refine the Fit: This is where the detailed work happens. Use layer masks to blend the edges of the head into the neck. You might need to gently erase parts of the head layer or use a soft brush on the mask to create a smooth transition. If the skin tone or lighting isn’t quite right, use adjustment layers (like Curves or Color Balance) clipped to the head layer to match it to the body’s environment.
-
Add Detail and Realism: Consider adding subtle details. If the body has a shadow cast by a light source, try to replicate a similar shadow for the new head. You might need to use dodge and burn tools sparingly to enhance or soften highlights and shadows on the composite head to integrate it further. This step, taking about 15-20 minutes of careful work, often separates a passable result from a truly convincing one.
Common Pitfalls and How to Avoid Them
A frequent mistake in ‘머리합성’ is overlooking the neck and jawline transition. Users often focus too much on the face itself, leaving a visible seam or an unnatural blend where the head meets the neck. This is where precise masking and careful blending with a soft brush become essential. Another common issue is using a headshot with significantly different resolution or sharpness than the body image. This can lead to a composite that looks either too sharp and artificial or too blurry and out of focus.
For instance, trying to swap a high-resolution DSLR portrait headshot onto a low-resolution phone camera body photo without proper adjustments will almost always result in a noticeable disparity. The key is to aim for source images that are as close in quality and detail as possible, or to be prepared to spend time equalizing them. Sometimes, the best approach is not to swap at all if the source material is too disparate.
When Head Swapping Isn’t the Right Solution
While ‘머리합성’ is a powerful tool, it’s not always the best or most efficient solution. If the lighting conditions between the head and body are drastically different – say, one is a studio portrait with controlled lighting and the other is an outdoor candid shot with harsh sunlight – achieving a realistic composite can be incredibly time-consuming, often requiring extensive lighting simulation and color grading. In such cases, finding a different body or head source that matches the lighting is usually more practical.
Consider a scenario where you need a headshot for a formal ID photo. While you could attempt a head swap, the strict requirements for uniform lighting, neutral expression, and precise head positioning often make it simpler and more reliable to take a new photo or use a professional service that specializes in ID photo editing. Trying to force a head swap in these situations can lead to rejection. For anyone needing quick, standardized ID photos, the trade-off is often speed and accuracy versus the complexity of manual compositing. Understanding when not to use a technique is as important as knowing how to use it.
To improve your skills in this area, I’d recommend exploring tutorials specifically on layer masks and color matching in Photoshop. Search for terms like “photoshop seamless head blend” to find targeted advice.