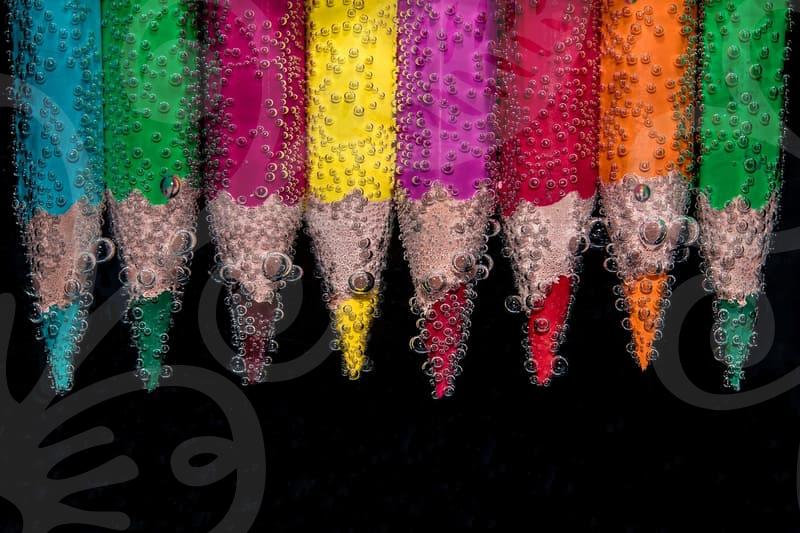
Understanding Vector Tracing for Designers
When you need to convert a raster image into a scalable vector graphic, vector tracing is your go-to technique. It’s essentially a process where software analyzes a pixel-based image and redraws it using mathematical paths. This is crucial for logos, illustrations, or any graphic that needs to be resized without losing quality. Many designers, myself included, have faced the frustration of a blurry, pixelated logo when blown up for a banner. That’s where understanding vector tracing becomes indispensable.
When is Vector Tracing the Right Choice?
Vector tracing is most effective when you have a clear, high-contrast raster image that you want to adapt for print or digital use where scalability is paramount. Think about a hand-drawn sketch scanned in and needing to become a clean vector for a t-shirt print, or a scanned company logo that needs to be used on everything from business cards to billboards. The key here is simplicity and clarity in the source image. Complex, photographic images with subtle gradients or fine textures usually don’t translate well through automatic tracing; they often become a mess of disconnected shapes.
One common mistake is expecting automatic tracing software to work miracles on low-resolution or overly detailed JPEGs. If the original image is already pixelated, no amount of tracing will magically restore lost detail. It’s like trying to build a sharp sculpture from a blurry photograph; you can only work with what you have. For best results, start with the cleanest, highest-resolution raster file possible. Even then, some manual cleanup is often required, especially around intricate details or overlapping shapes.
Mastering Automatic Vector Tracing: A Step-by-Step Approach
Let’s break down how you typically approach automatic vector tracing using common software like Adobe Illustrator or Inkscape. It’s not a magical one-click solution, but a guided process.
First, import your raster image into your chosen vector editing software. For instance, in Adobe Illustrator, you’d go to File > Place and select your image. Once the image is on your artboard, select it. Then, you’ll typically find a tool or panel specifically for tracing. In Illustrator, this is the ‘Image Trace’ panel. Here’s where the real decision-making happens.
You’ll see various presets like ‘Logo’, ‘High Fidelity Photo’, or ‘Sketches’. For simple logos, ‘Logo’ or ‘Black and White Logo’ often works well, aiming for clean lines and solid colors. If you have a more detailed illustration, ‘High Fidelity Photo’ might be tempting, but be prepared for a lot of generated paths and potentially a large file size. Each preset will attempt to convert your pixels into paths based on its algorithms.
After applying a preset, you’ll see a preview. This is where you refine the settings. Key parameters to adjust include: Colors: Reducing the number of colors can simplify the trace significantly and lead to cleaner results. Paths: This controls how closely the traced lines follow the original pixels. Too high, and you get jagged lines; too low, and you lose detail. Corners: This setting affects how sharp or rounded corners are rendered. Strokes: For line art, you might adjust stroke width. Mode (e.g., Color, Grayscale, Black and White) is also crucial. The goal is to find a balance between preserving the essence of the original image and creating a clean, usable vector.
Once you’re satisfied with the preview, you need to ‘Expand’ the trace. This converts the traced preview into actual vector paths and shapes. At this point, you can ungroup the elements and manually edit individual anchor points, curves, or entire shapes. This post-tracing cleanup is often the most critical step for achieving a professional-quality vector.
The Trade-offs: When Manual Tracing or Redrawing is Better
While automatic vector tracing is a powerful time-saver for certain tasks, it’s not a universal solution. The most significant trade-off is the loss of fine detail and the potential for an overly complex or inaccurate output. For highly detailed illustrations, intricate patterns, or photographs where every subtle shade and texture matters, automatic tracing often fails. It struggles with soft gradients, subtle shadows, and organic shapes, resulting in blocky areas or unwanted artifacts.
In such cases, manual tracing or redrawing from scratch is the superior, albeit more time-consuming, method. Manual tracing involves using the pen tool to meticulously redraw the image element by element. This gives you complete control over every curve, line, and color. Software like Adobe Illustrator is designed for this, allowing artists to build up complex vector artwork with precision. A seasoned designer might spend anywhere from 30 minutes to several hours redrawing a complex logo or illustration manually, depending on its intricacy.
Consider a watercolor painting that needs to be vectorized for a website. Automatic tracing would likely turn the soft washes of color into harsh, distinct shapes and lose the organic feel. Manually tracing the main forms and then carefully recreating the color blends using vector gradients and meshes would yield a much more faithful and aesthetically pleasing result. The decision point often comes down to project requirements: how much fidelity is needed, and how much time do you have? If your goal is a clean, sharp, scalable graphic with distinct shapes, auto-trace is a great starting point. If you need to preserve the painterly feel or photographic realism in vector form, be prepared for manual work or accept that vectorization might fundamentally change the artwork’s character.
Who Benefits Most from Vector Tracing Knowledge?
Anyone working with logos, icons, or simple illustrations for branding, web design, or print production will find vector tracing incredibly useful. Graphic designers, web developers, marketing professionals, and even hobbyists who create their own merchandise will benefit. If you frequently receive artwork from clients in raster formats (like JPG or PNG) and need to prepare them for various applications, understanding this process is essential.
For example, a small business owner who gets a logo designed as a JPG might try to use it on a large banner. Realizing it looks terrible, they’d need to either hire a designer to vectorize it or learn to do it themselves. Knowing when and how to use vector tracing can save significant time and money in these situations. It empowers individuals to take existing raster assets and transform them into versatile vector graphics.
To explore further, I recommend searching for specific tutorials on ‘vector tracing’ within your preferred design software, such as Adobe Illustrator or Affinity Designer. Pay attention to techniques for cleaning up traced paths, as this is often where the real professional polish comes from. The next step is to practice with different types of raster images to build your intuition for what works and what doesn’t.