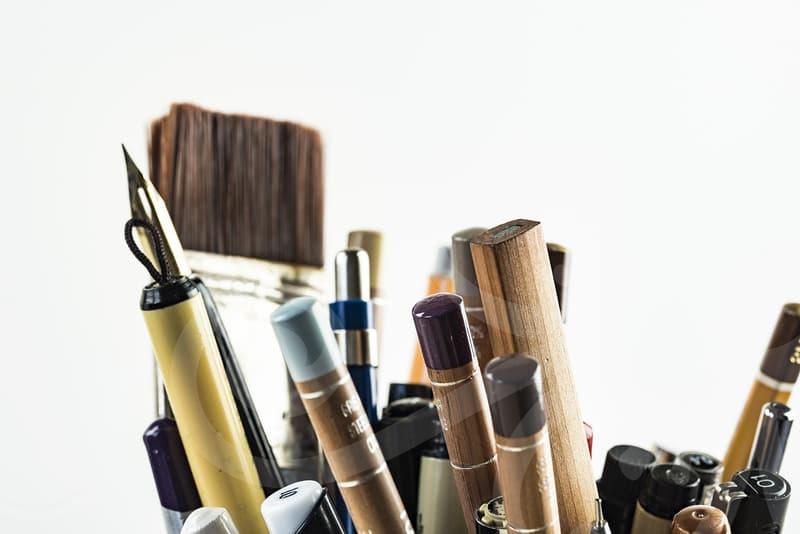
When Nukki Work Looks Clean Fast
Why does a simple cutout fail so often.
Nukki looks easy when the subject has a plain wall behind it and the edges are hard and dark. The trouble starts in ordinary work, not in demo files. Hair against a bright window, a white sneaker on a pale studio floor, lace on a wedding dress, or a glass bottle with soft reflections can turn a five minute task into a twenty minute repair job.
Most bad cutouts fail for the same reason. The editor chooses speed too early, trusts one automatic selection, and moves on before checking the edge at 200 percent zoom. On a phone screen the result can look acceptable, but once the image is placed on a product page, a banner, or a printed leaflet, the thin halo around the subject becomes obvious.
I see this most often in online shop images. A seller removes the background, places the product on pure white, and thinks the job is done. Then the metal edge looks fuzzy, the fabric loses texture, and the item feels cheaper than it is. A clean cutout is not just about removing the background. It changes how trustworthy the image feels.
The fastest workflow is not the shortest one.
People often ask which method is quickest, manual pen path, masking, or AI selection. The honest answer is that the fastest workflow is the one that avoids repair. If an AI tool gives you a selection in 15 seconds but you spend 8 minutes fixing the hairline, that is slower than a more controlled method that takes 3 minutes from the start.
My usual order is simple. First, I classify the subject into hard edge, soft edge, transparent edge, or mixed edge. Second, I decide whether the output is for marketplace thumbnails, social ads, print, or composite work. Third, I choose the tool based on that output, not based on what feels fashionable that week.
For a hard edge product such as a box, bottle, phone case, or chair, a path based approach still wins because it stays stable when the file gets reused. For a portrait with flyaway hair, a mask with selective refinement is safer. For transparent objects such as a glass cup or veil, a rough automatic cutout is only the beginning, because transparency and edge contamination have to be rebuilt with intent.
This decision alone saves time. In one retail batch I handled, 48 product shots looked similar at first glance. After sorting them by edge type, the team processed the clean hard edge items in half the original time because no one kept switching methods midstream.
How should you approach difficult edges.
Difficult edges need a sequence, not guesswork. Start with the largest separation first. Build a broad selection that protects the main body of the subject, then deal with the fragile areas such as hair, fur, lace, leaf tips, and semi transparent fabric afterward. If you chase every tiny strand from the beginning, you lose control of the silhouette.
Next, inspect the edge against two backgrounds, one dark and one light. This step matters more than people expect. A bright fringe can disappear on white and become ugly on gray, while a dark leftover edge can hide on black and show up the moment the design team drops the cutout into a pastel layout.
After that, clean color contamination before polishing shape. Background spill is the reason blond hair cut from a green park suddenly looks muddy on a neutral banner. When the previous background tint stays in the edge pixels, the image tells on itself. People may not know why it looks off, but they notice that it does.
Then decide what to preserve and what to simplify. Not every hair strand deserves rescue. In commercial work, a believable outline usually matters more than microscopic completeness. If the final usage width is 1200 pixels on an ecommerce listing, preserving every stray fiber can be a waste, while keeping the hair mass natural is what the viewer actually reads.
The last step is placement testing. Put the cutout on the intended background, add the final shadow if needed, and only then judge the edge. A technically perfect mask can still look wrong when the lighting direction, sharpness, or contrast does not match the new scene.
AI Nukki is useful, but where does it break.
AI has changed the first draft of cutout work. On clean portraits, app previews, and simple product shots, it can remove a background fast enough to make manual selection feel outdated. That part is real. If you process dozens of social assets in a day, the time savings are hard to ignore.
But AI usually breaks in three places. It struggles when the subject edge is visually similar to the background, when transparency is important, and when the image contains intentional blur. A bride’s veil, a perfume bottle, bicycle spokes, curly hair in backlight, or motion blur in a running shot can confuse the model because the boundary is not a clear line even to the human eye.
There is also a quality trap. The tool may produce a neat looking mask while quietly flattening fine detail. Fabric texture near the edge disappears, eyelashes become clumps, and soft shadows under a product vanish. For quick content that may be acceptable. For premium listings, lookbooks, or campaign composites, it lowers the perceived finish.
A practical comparison helps here. If I need ten staff profile images for an internal page, AI first and manual cleanup later is the right call. If I need one hero product image for a launch page where the object fills most of the screen, I would rather spend 12 minutes controlling the edge than save 9 minutes and fight visible defects after export.
This is why mild skepticism is healthy. AI is excellent at removing repetitive labor, but it still has a habit of making confident mistakes. The editor who spots those mistakes early is the one who keeps the workflow fast.
Where cutout work affects the final image most.
Many people think Nukki matters only when the background is deleted. In practice, it changes the entire chain of visual content creation. Once the subject is separated cleanly, you can retouch skin without touching the wall, balance product contrast without lifting the floor, swap layout colors quickly, and test ad variations without rebuilding the file each time.
Compositing is where the difference becomes obvious. A weak cutout creates a pasted look even when the color grading is good. The edge feels too sharp for the new background, or too soft for the lighting, and the viewer senses the mismatch the same way they sense a badly dubbed voice in a film. The picture may be technically assembled, but it does not sit together.
Wedding snap retouching is a good example. A couple shot against a crowded aisle may need guests removed, the dress cleaned, and the pair placed in a calmer frame for an album spread. If the initial cutout around the dress hem and hair is rough, every later adjustment becomes harder. Skin correction, exposure blending, and album layout all start inheriting that early mistake.
Product pages show another side of it. A cutout that leaves too much empty air around the object shrinks badly on mobile. One that cuts too tightly may clip natural shadow and make the item look like a sticker. The editor is not only deciding what to remove. They are deciding how the object occupies space, how premium it feels, and whether it earns a second glance.
Who should spend more time on Nukki, and who should not.
If your images sell, explain, or persuade, cutout quality deserves attention. Online store owners, designers building campaign banners, photographers preparing client selects, and small teams managing social ads usually benefit the most. In those situations, the edge quality affects trust, click behavior, and how polished the brand appears.
If the image is disposable, the standard can be lower. A quick internal presentation, a temporary mockup, or a casual social story does not need hand finished hair detail. Spending 15 minutes polishing a file that will be seen for 24 hours is not craftsmanship. It is poor prioritization.
The practical takeaway is simple. Use AI or auto selection for the first pass, but judge the result at the size and background where it will actually live. If the image is customer facing and the subject edge carries important detail, slow down and finish it properly. If not, accept the rougher cut and move on.
That trade off is where good editing judgment lives. Nukki helps most when the cutout is part of a larger visual decision, not when it becomes a ritual done the same way every time. If your current method feels slow, the next step is not always a new tool. It may be asking a stricter question before you begin, which edges matter in this image, and which ones do not.